
We're going to go through the process today of dipping your toes with a new JAMstack website. We're going to cover getting all your previous posts from Wordpress and the basics of migrating individual pages and the do's and dont's that we encountered when migrating a website of our own.
For a rough estimation of time, we've listed the elements below and a timeframe you'll need for each
- Signing up for Stackbit, Forestry, Github & Netlify within Stackbit - 30mins to an hour
- Migrating Wordpress, converting your posts to Markdown and adding to site - 1 hour
- Polishing the little bits of SEO that are left out - 2 hours
The caveats
A few things to note before making the switch:
- Page builders such as Gutenberg, Elementor or ACF will not migrate properly and require a much more comprehensive migration process - which is why we're not covering it
- Pages will migrate over providing they're mostly text, however this post primarily focuses on simple blog posts
- There is a small refresh time when using JAMstack when you make amends to the site - this is purely to re-render all the content, this provides the fastest possible way for your clients to view it.
Exporting from Wordpress
We went with a Wordpress website we worked on a long time ago called Say no to Mowlands. We wanted to simplify the site, and keep the blog posts at the forefront of what is important as it provides weekly/monthly updates on progress.
We started by exporting all the blog posts out of it. You can access the export options from:
Sidebar → Tools → Export
Inside of this section you can tailor the exact categories/authors you want to export, however if you want every post dont make any alterations to the dropdowns and just press the Download Export File from the bottom of the page
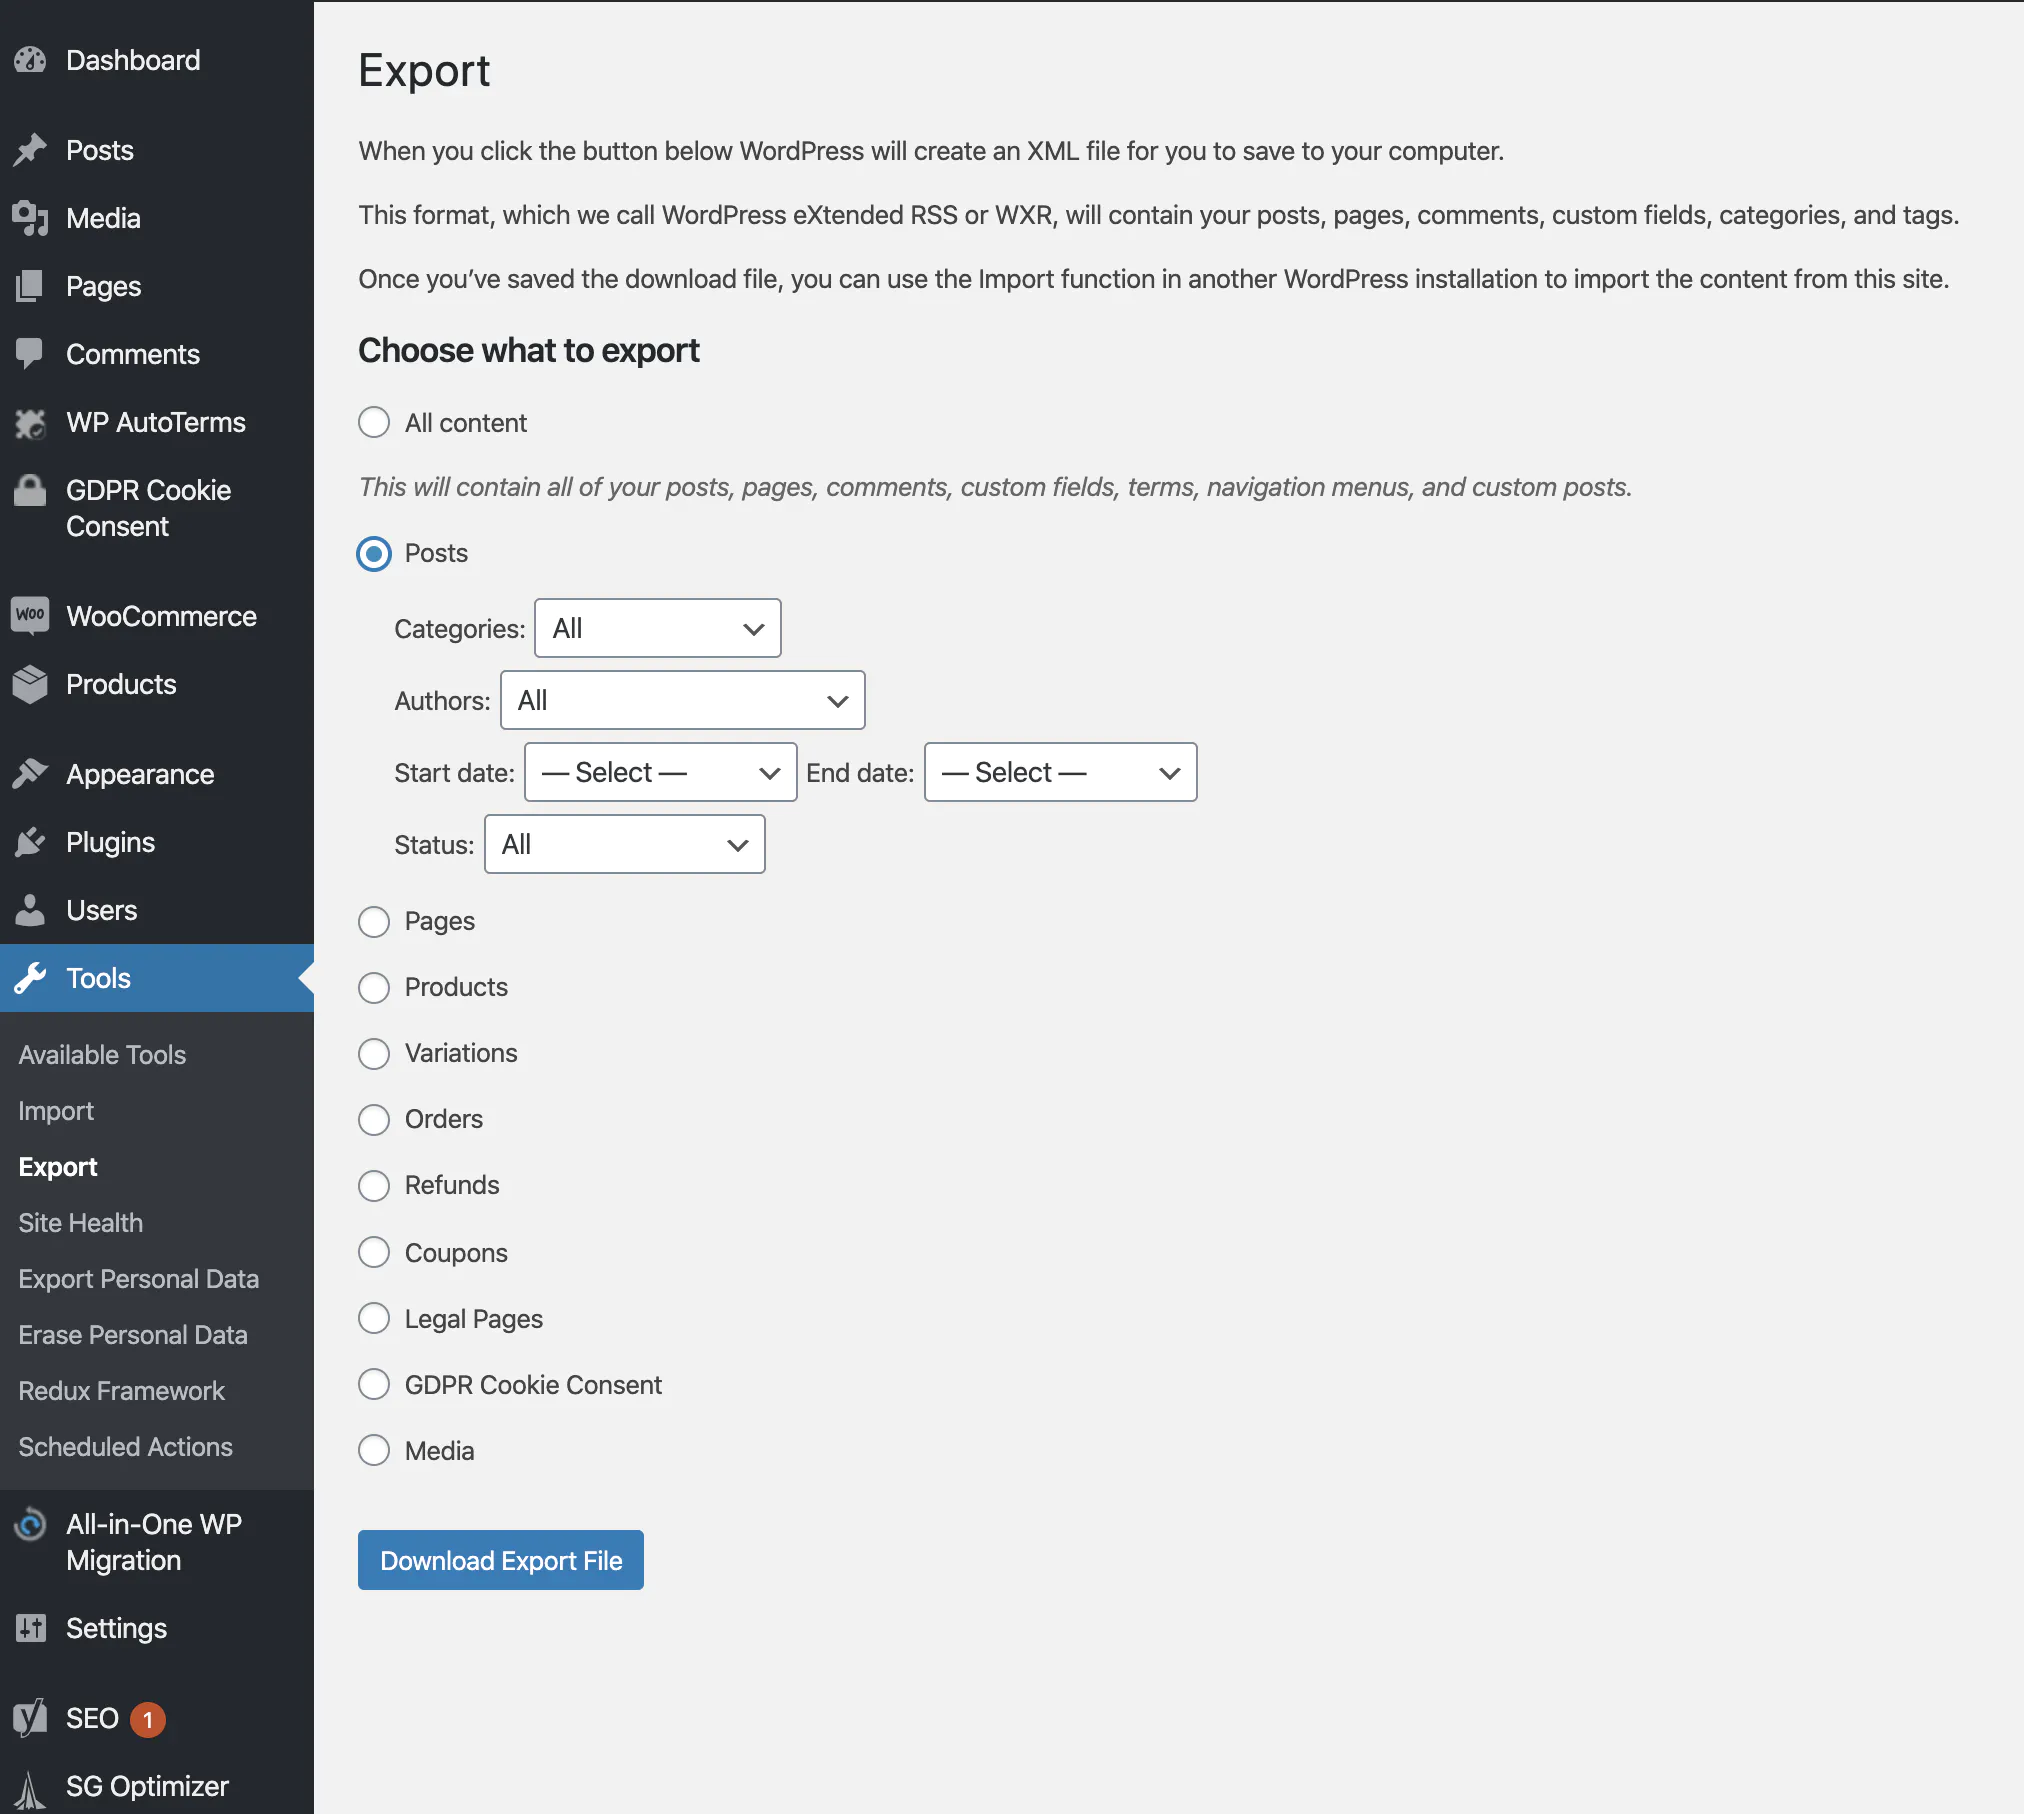
This will download your posts in an XML format, which we will need to convert before importing into the site**.** The reason we love Forestry and we're using it within this tutorial, is due to the fact that it closely represents the same UI of Wordpress so it's less of a jump to UX-wise when migrating.
Converting the XML
To get the XML to play nice with Gatsby & Stackbit, we're going to need to convert it to Markdown. Luckily some clever dev out there (shoutout to @LoneKorean https://github.com/lonekorean) created a simple way to batch convert them.
You can pickup the tool here: https://github.com/lonekorean/wordpress-export-to-markdown
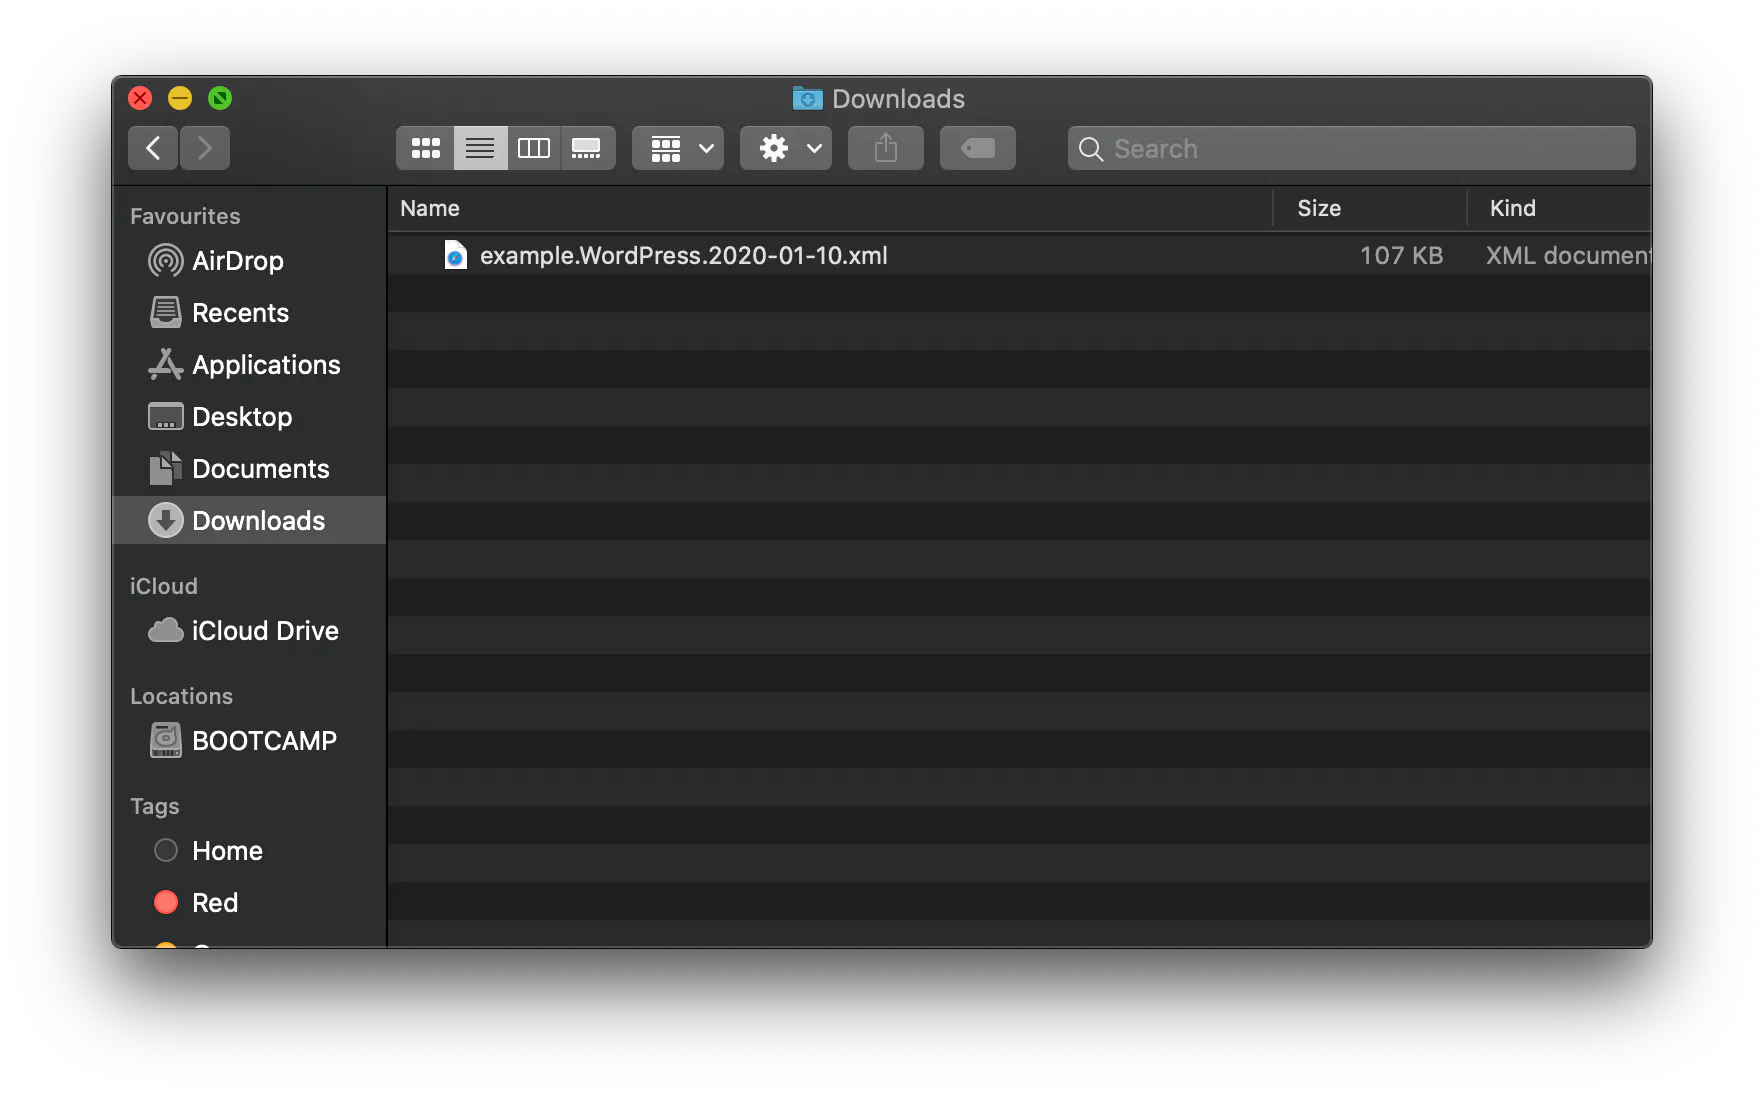
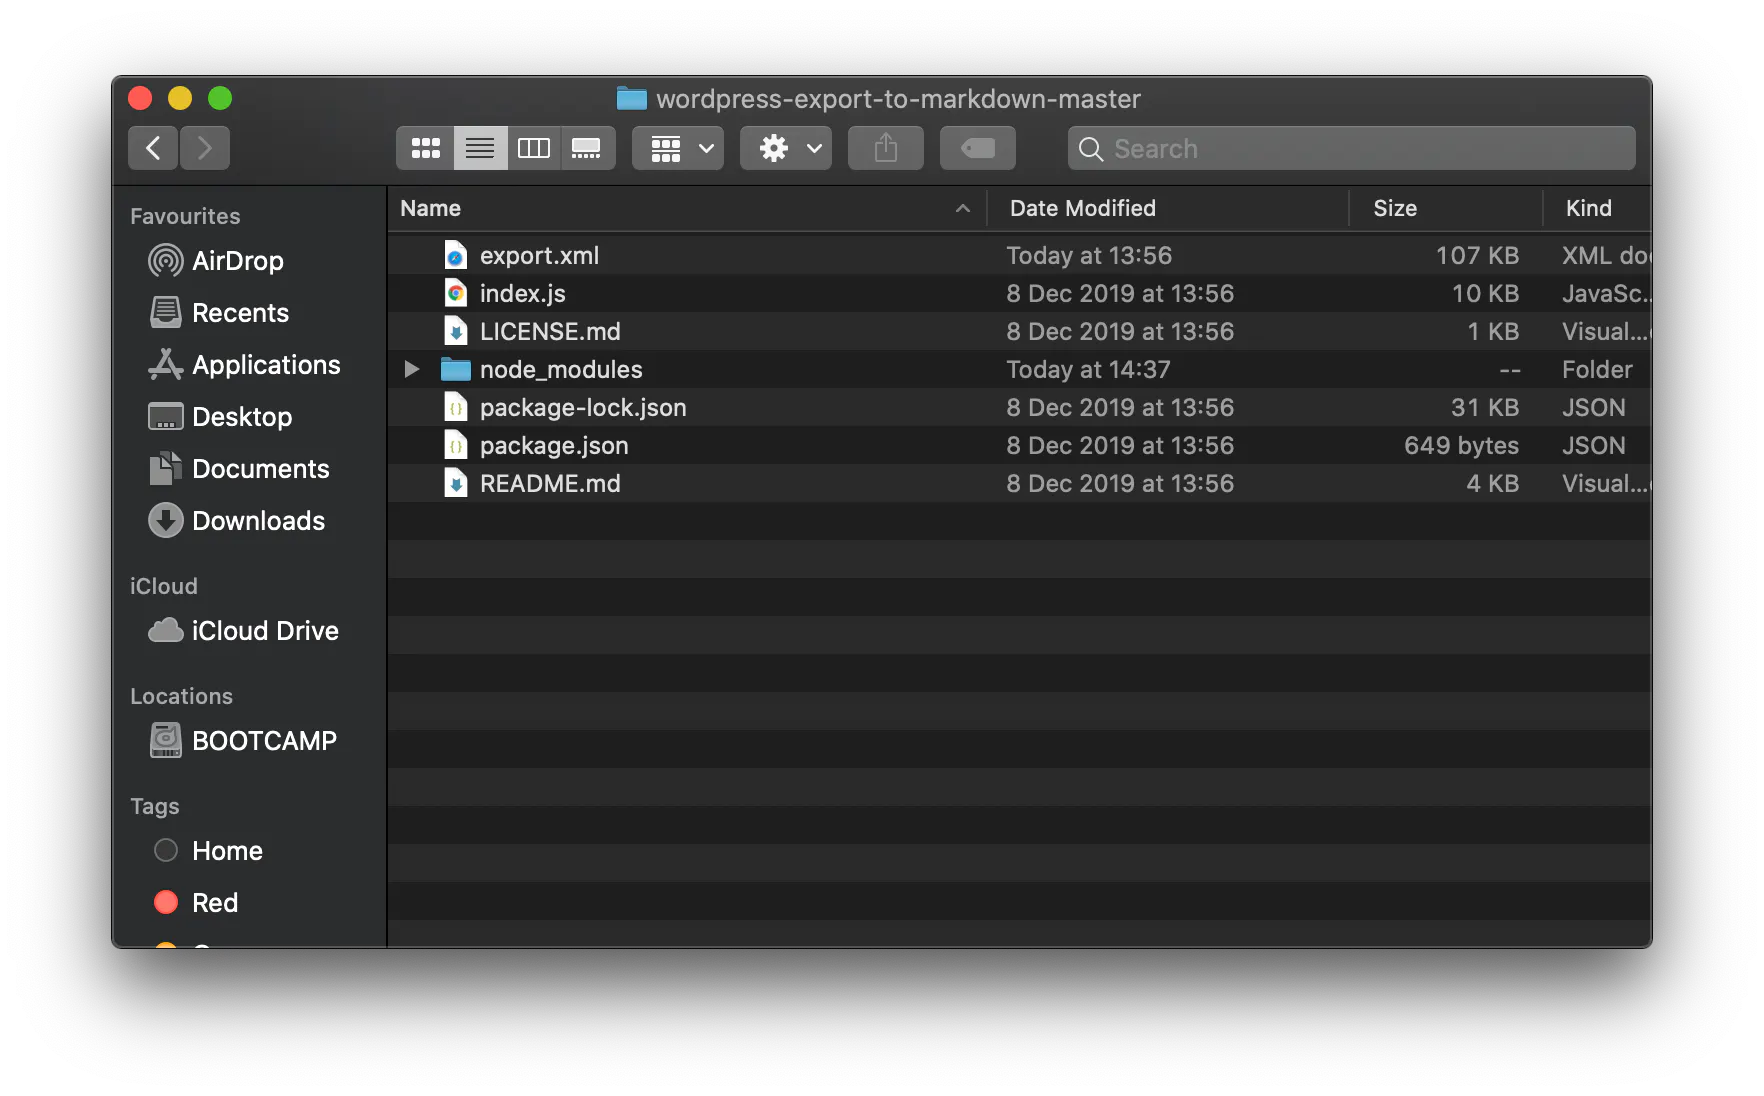
Once you have downloaded the tool, extract it, then you should see a folder like this:
From here you want to open a terminal up then navigate to the folder where it was downloaded to. In our case we downloaded it to the downloads folder.
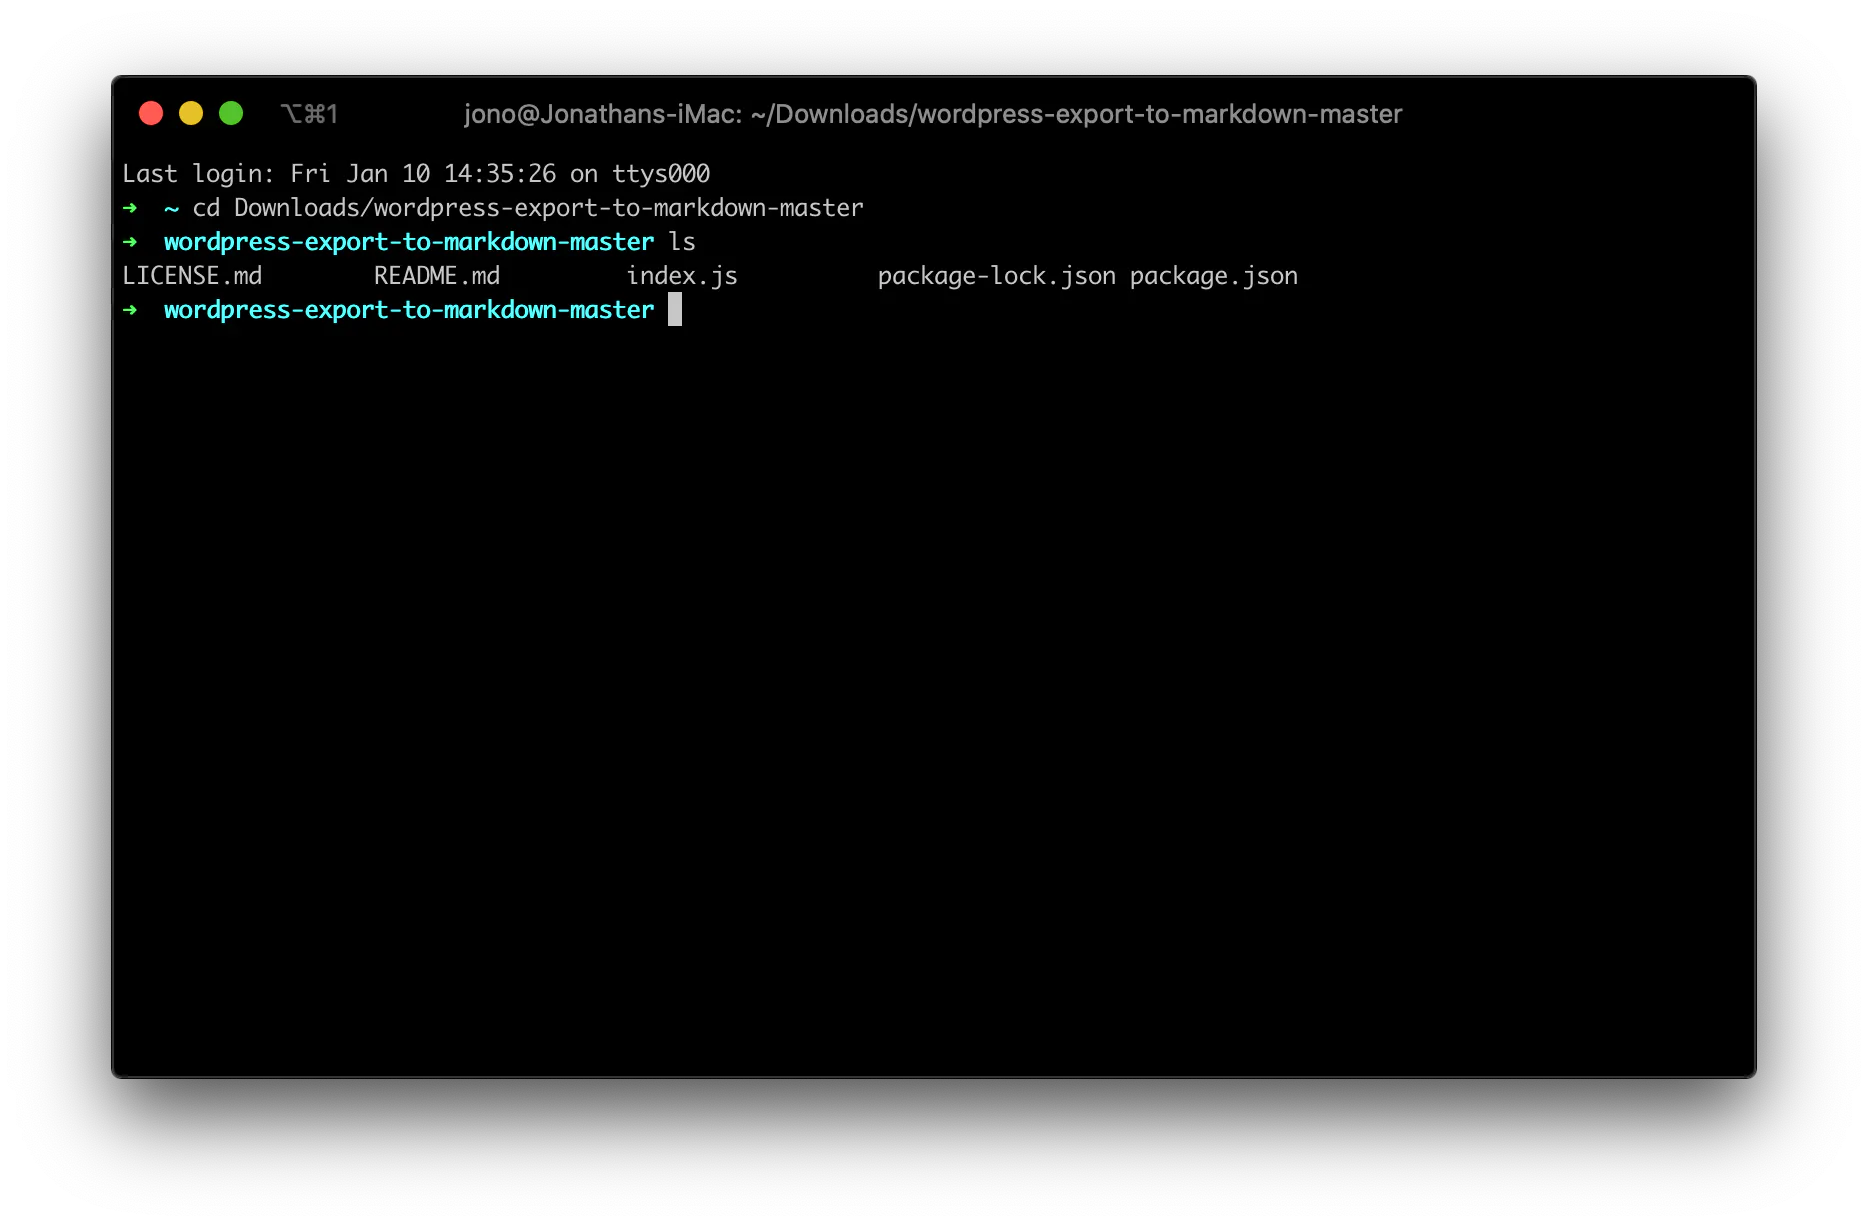
We're going to install everything with:
npm installIt should be absolutely rapid and once finished, you should see a node_modules folder and no errors in the terminal. Keep your fingers 🤞
Once installed to keep things simple we are going to rename the export from Wordpress to "export.xml". We're then going to drag it into the root of the wordpress-export-to-markdown-master folder which we downloaded and extracted earlier.
Our next step is return to the terminal (pro-tip: make sure your terminal is set to the correct directory) and type:
node index.js --postfolders=false --prefixdate=true --addcontentimages=trueThis should spit out a list of all your posts and a separate folder inside with images linked in the markdown. You might have a couple of errors within the terminal dependent on any externally linked images. For these you will need to download manually and fix.
Once we have this output, this is the first big step, give yourself a pat on the back 🥳
Getting the site setup
Now for the much more fun, and fancy part. We're going to start by signing up for Stackbit. This is a tool that brings together our:
- Github - where we will keep our site along with any amends we make along the way
- Netlify - the platform we use to deploy changes and host our site
- Forestry - the CMS where we make changes to the website
It also allows us to choose from a selection of themes and site generators to build the site from e.g HUGO, Gatsby, Jekyll.
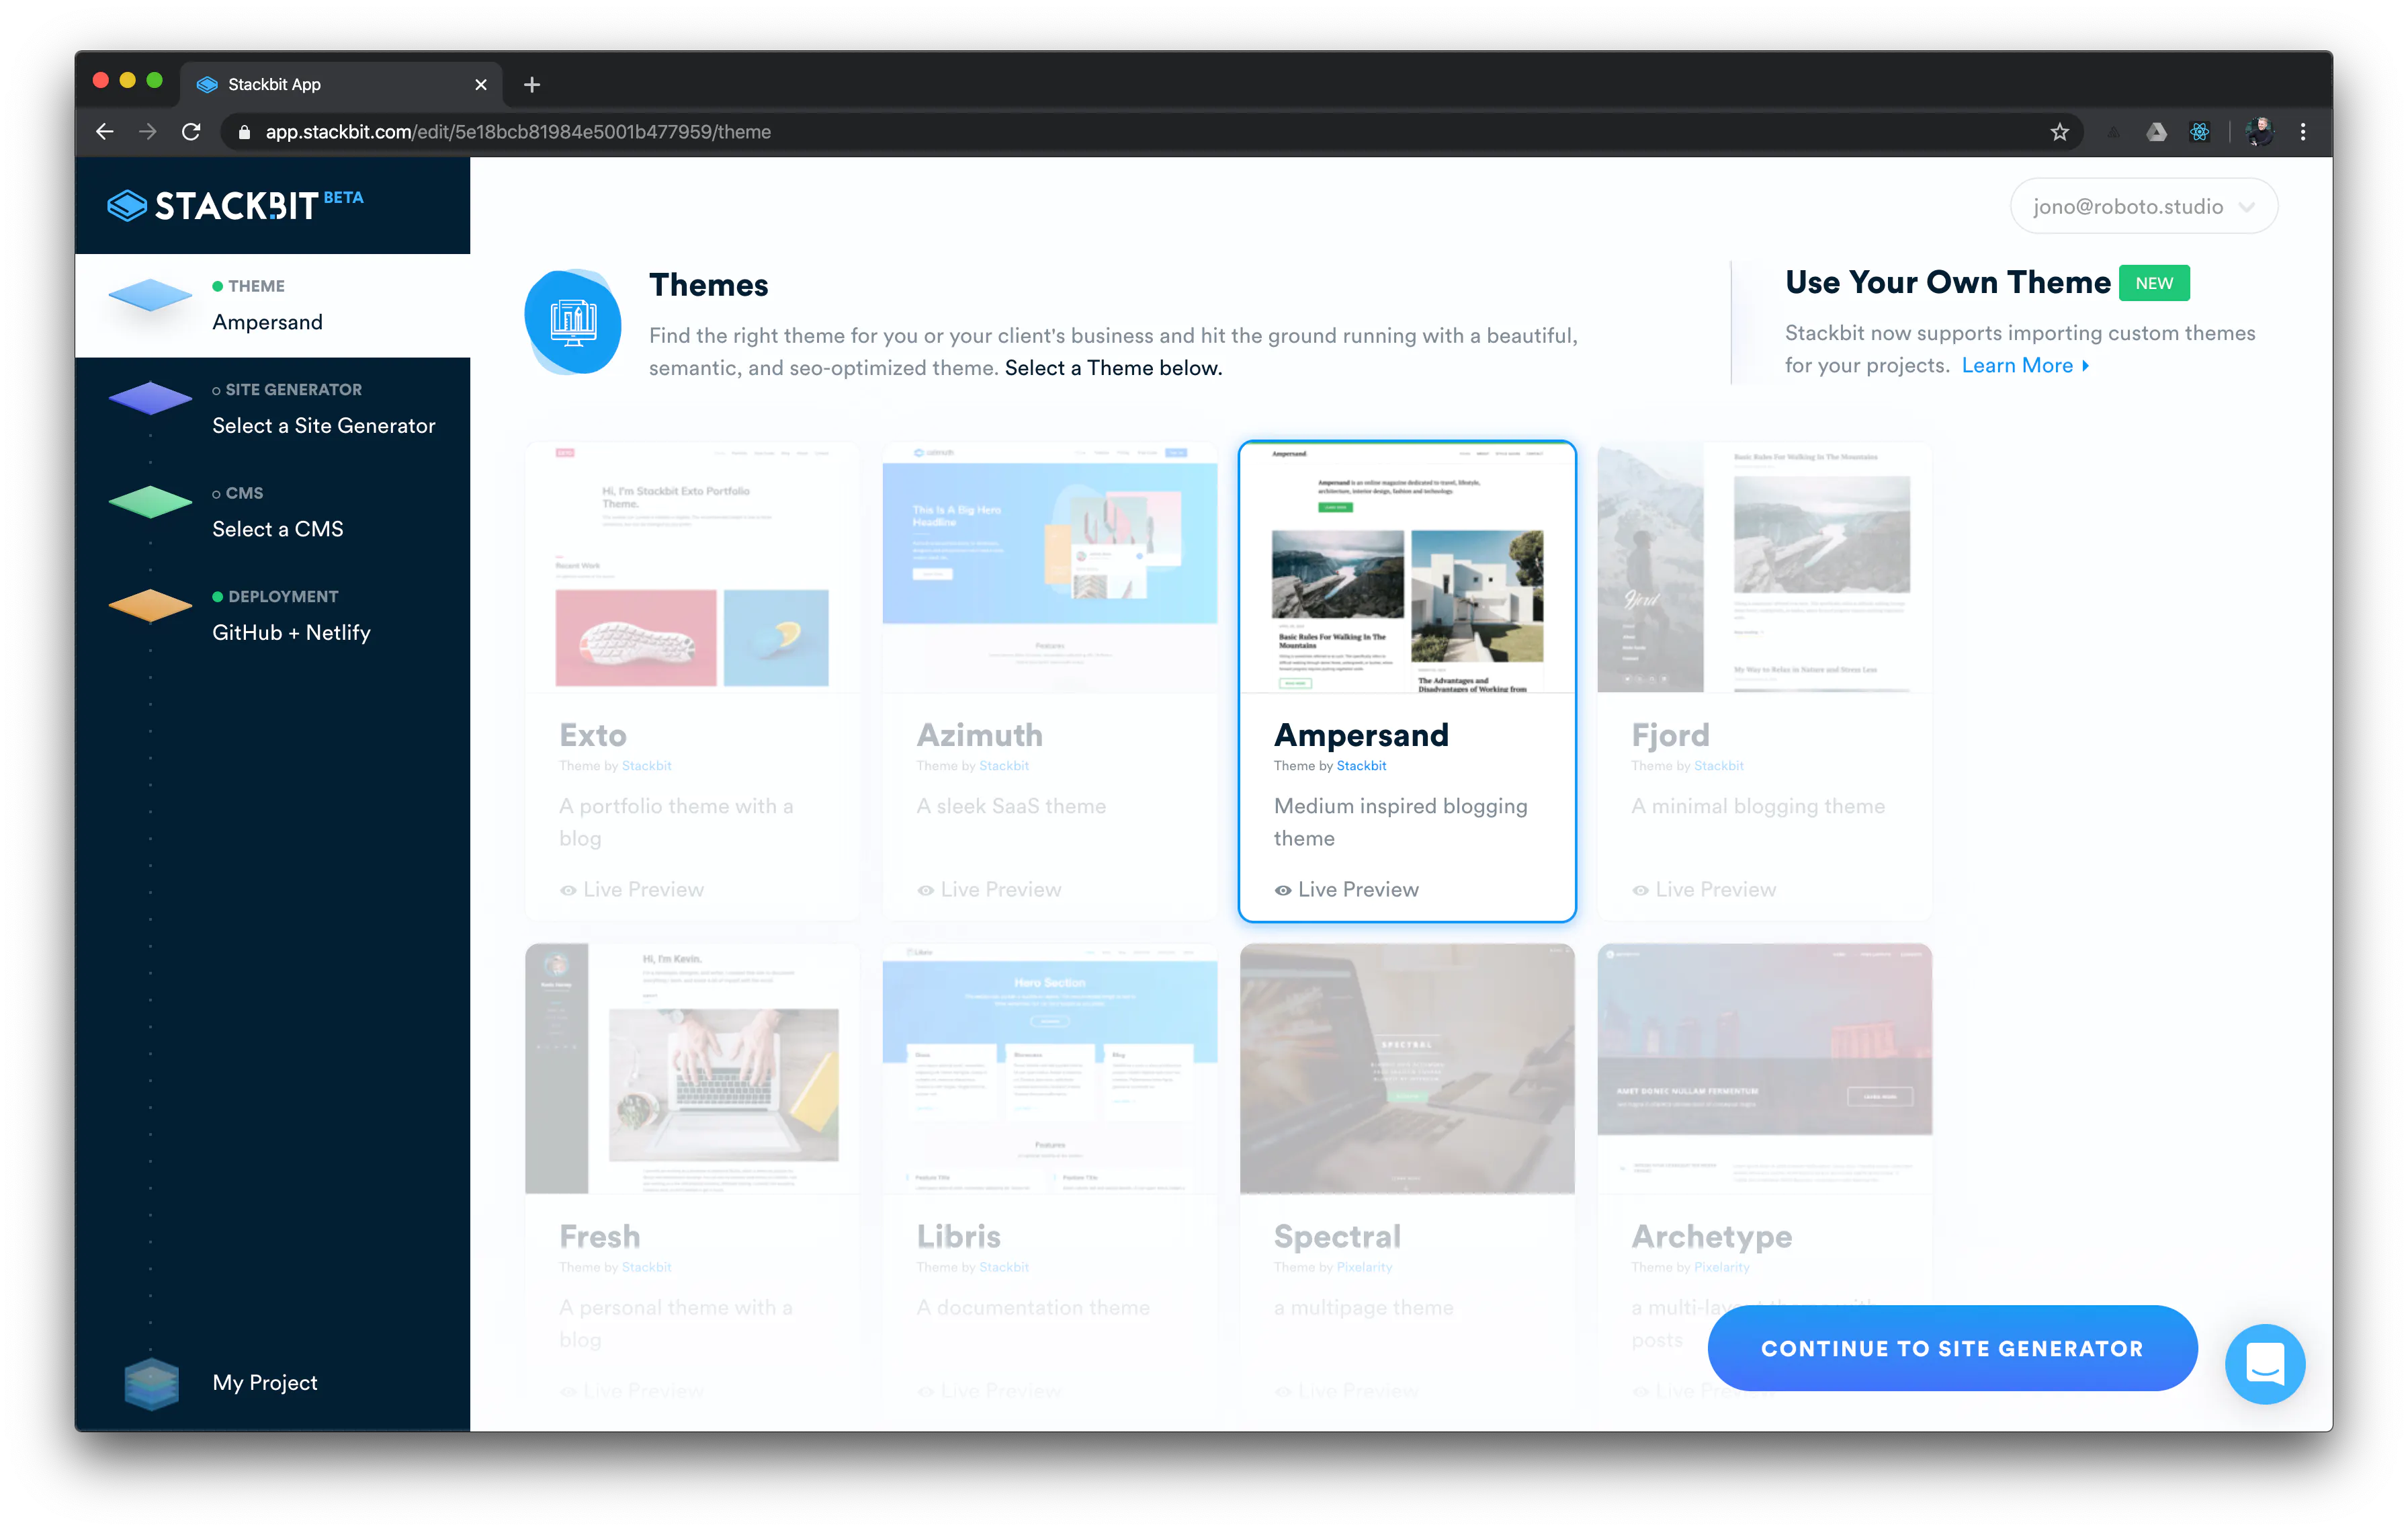
Choosing which theme
You can select from a bunch of different themes within Stackbit. The reason we're using Stackbit is for 2 reasons:
- Their theme selection is very impressive and high quality
- Their themes work in every language and CMS without any fuss, nice and simple
For our theme we chose Ampersand, because it matches the simple green theme of our original website and keeps the focus of the homepage on a list of most recent blogs.
Selecting a site generator
For the site generator we are using Gatsby, however this method will work for both Hugo and Jekyll. So go ahead and click that Gatsby button and move to the next step

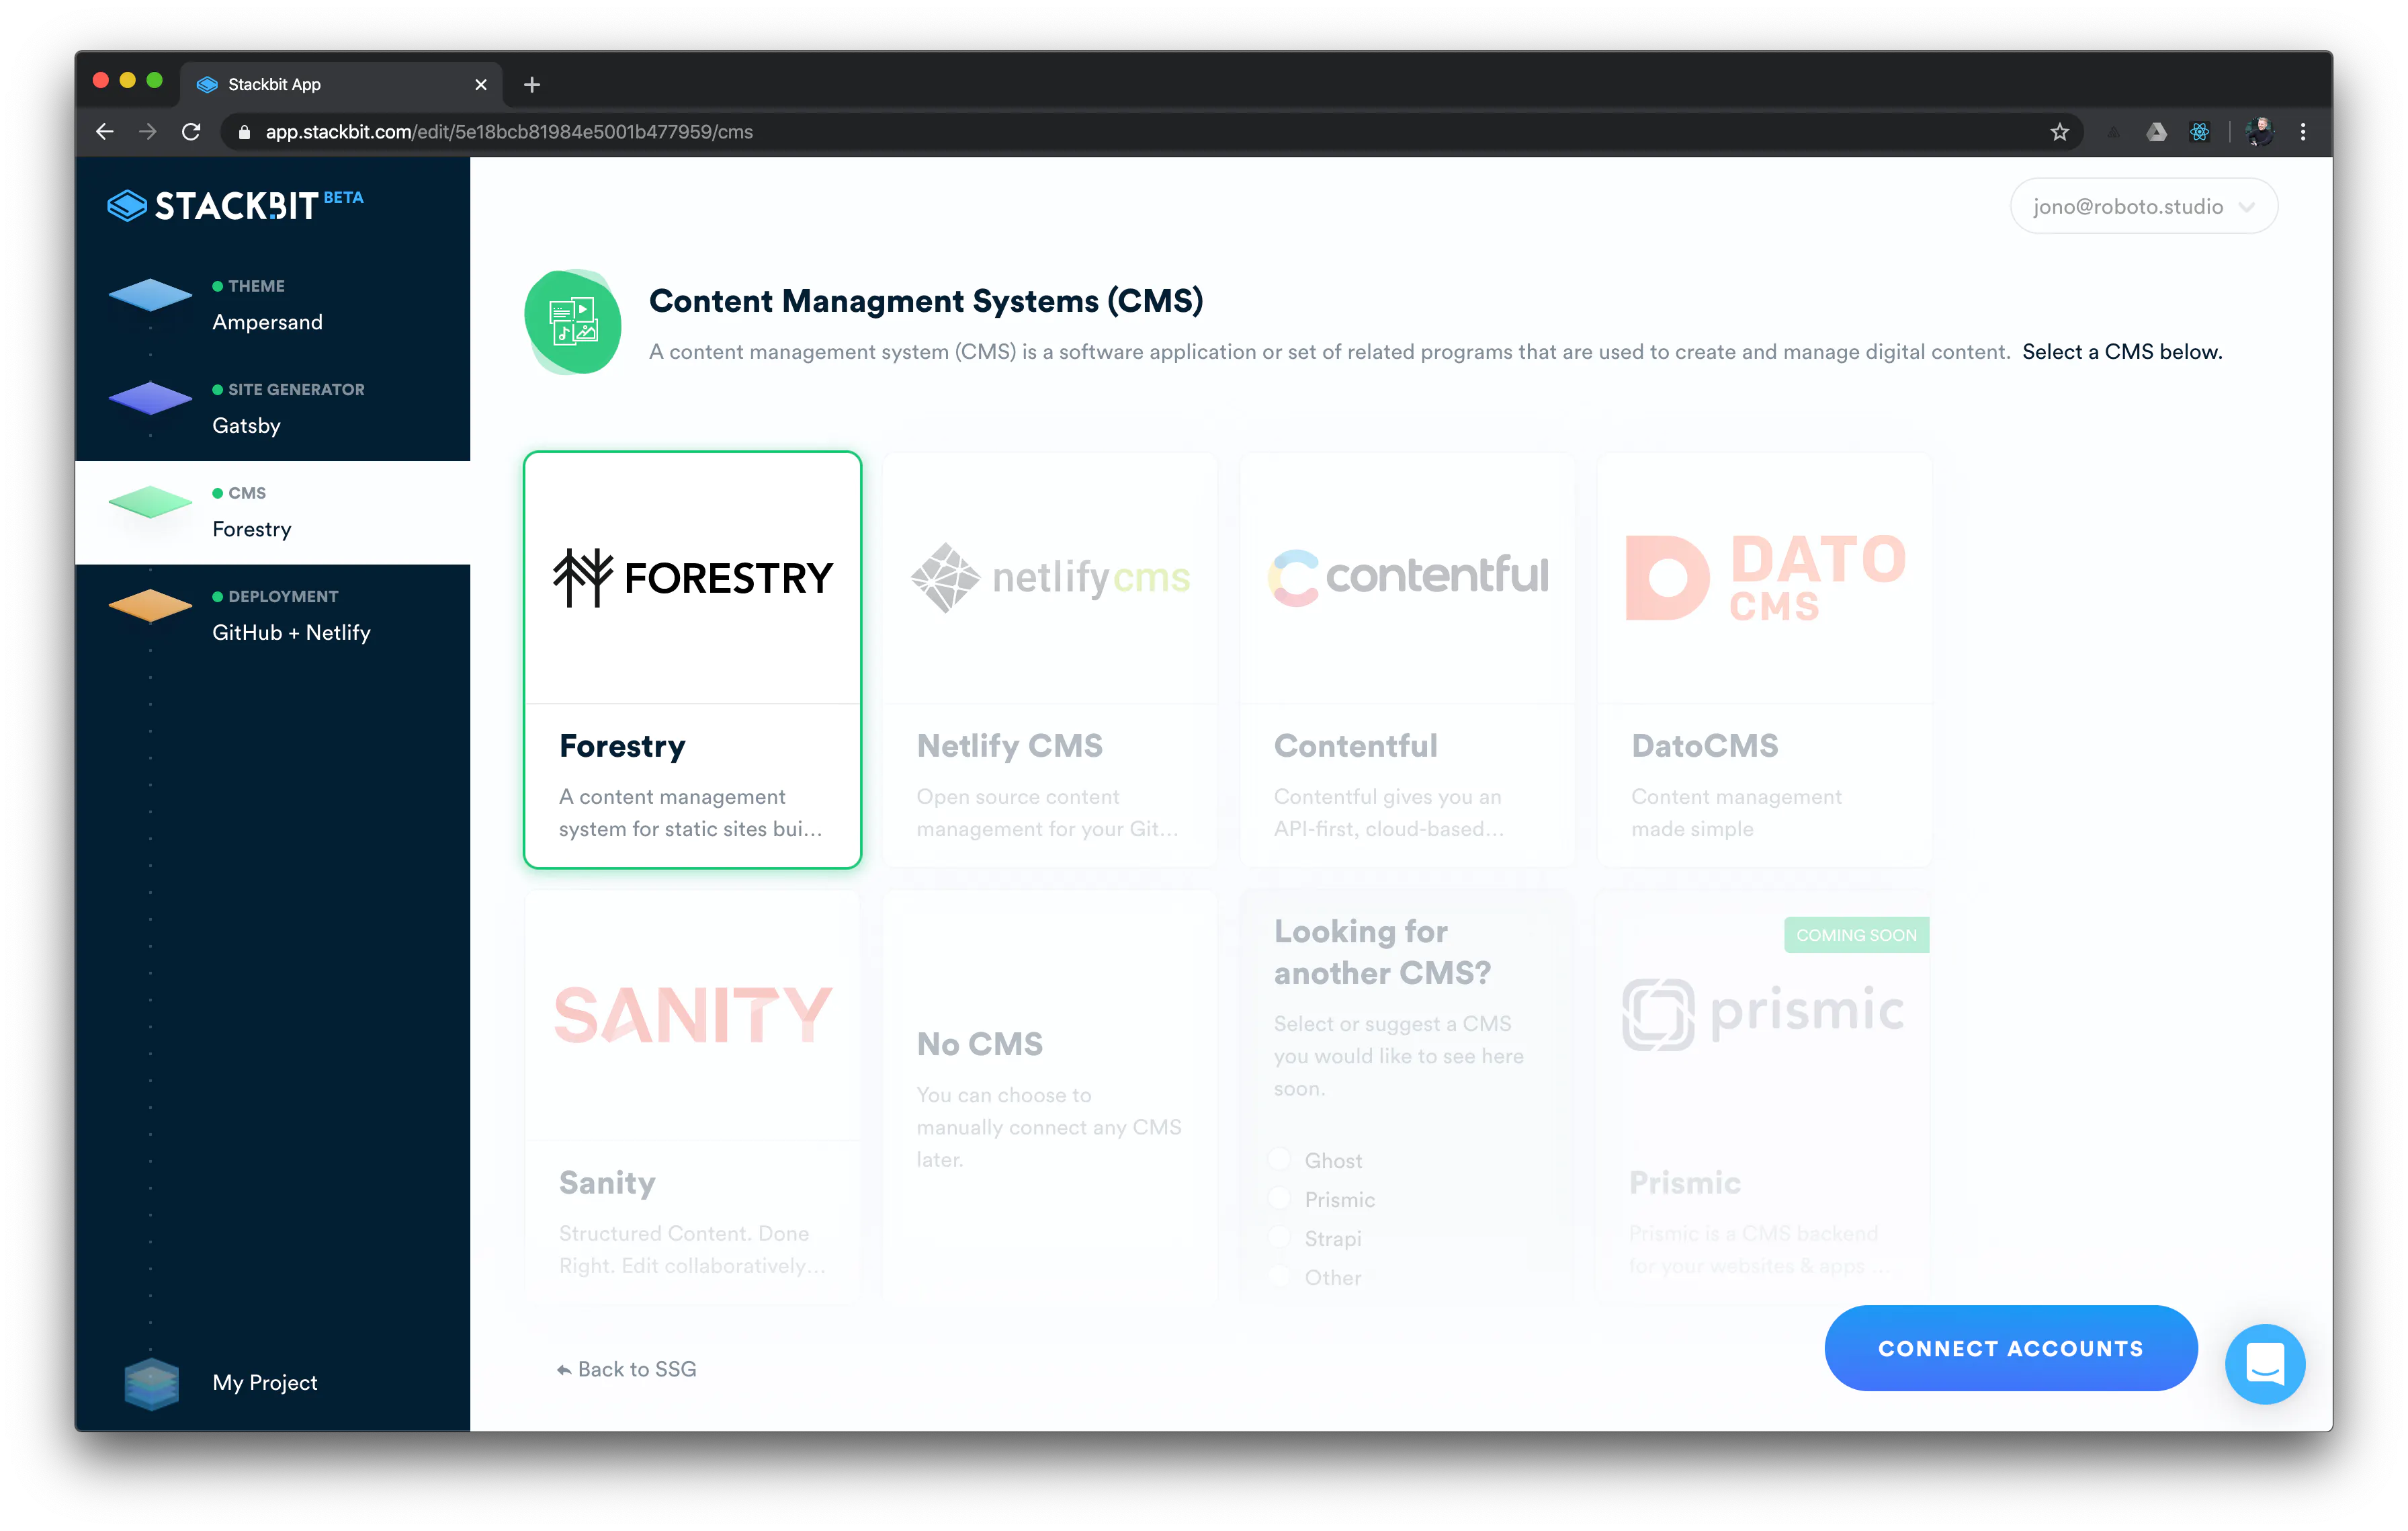
Selecting a CMS
Now this is section is very important, mainly because if you press the wrong one, it won't work.
So make sure you choose Forestry CMS. The reason being is that some CMS's revolve around API's so the content is passed to your static site builder in a different way. For this version we use Forestry as it adds new markdown files to your git repo as you make changes within the CMS.
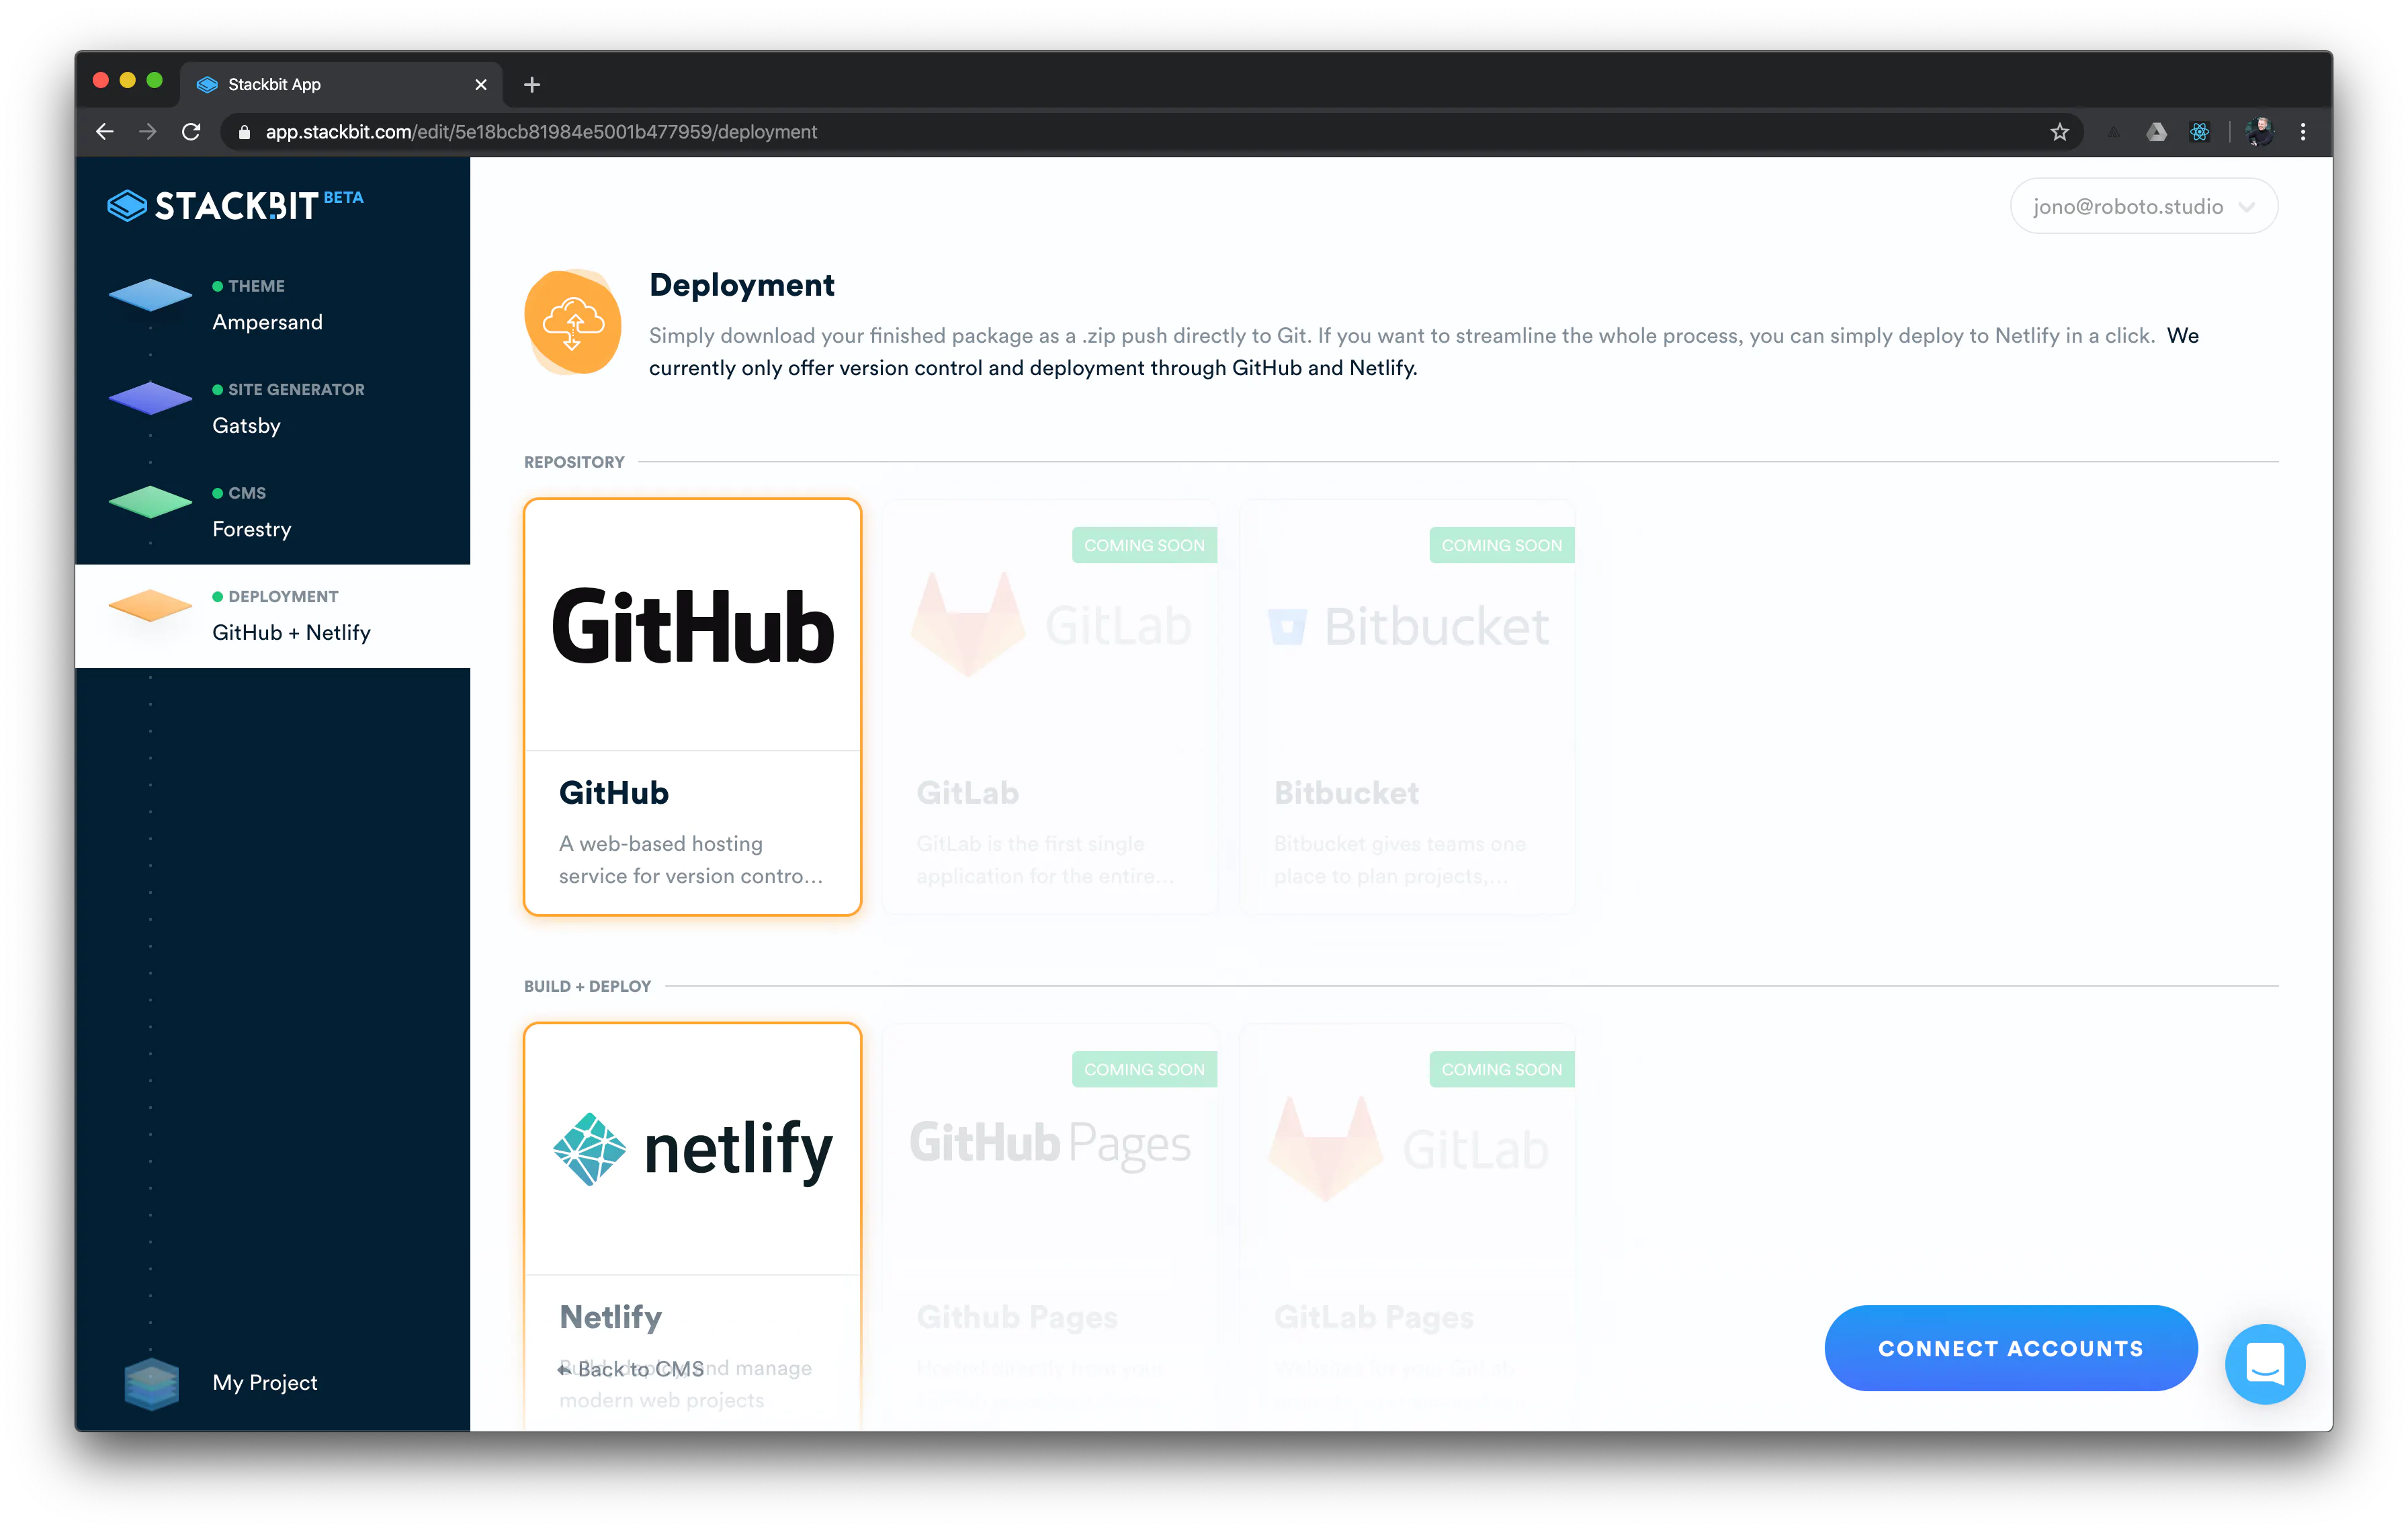
Selecting deployment
There's no other options here, but we would recommend using Netlify anyway due to the way it handles deployment + forms + edge (seriously, check that last one out).
Once you've connected all the accounts your last step will be creating your project!
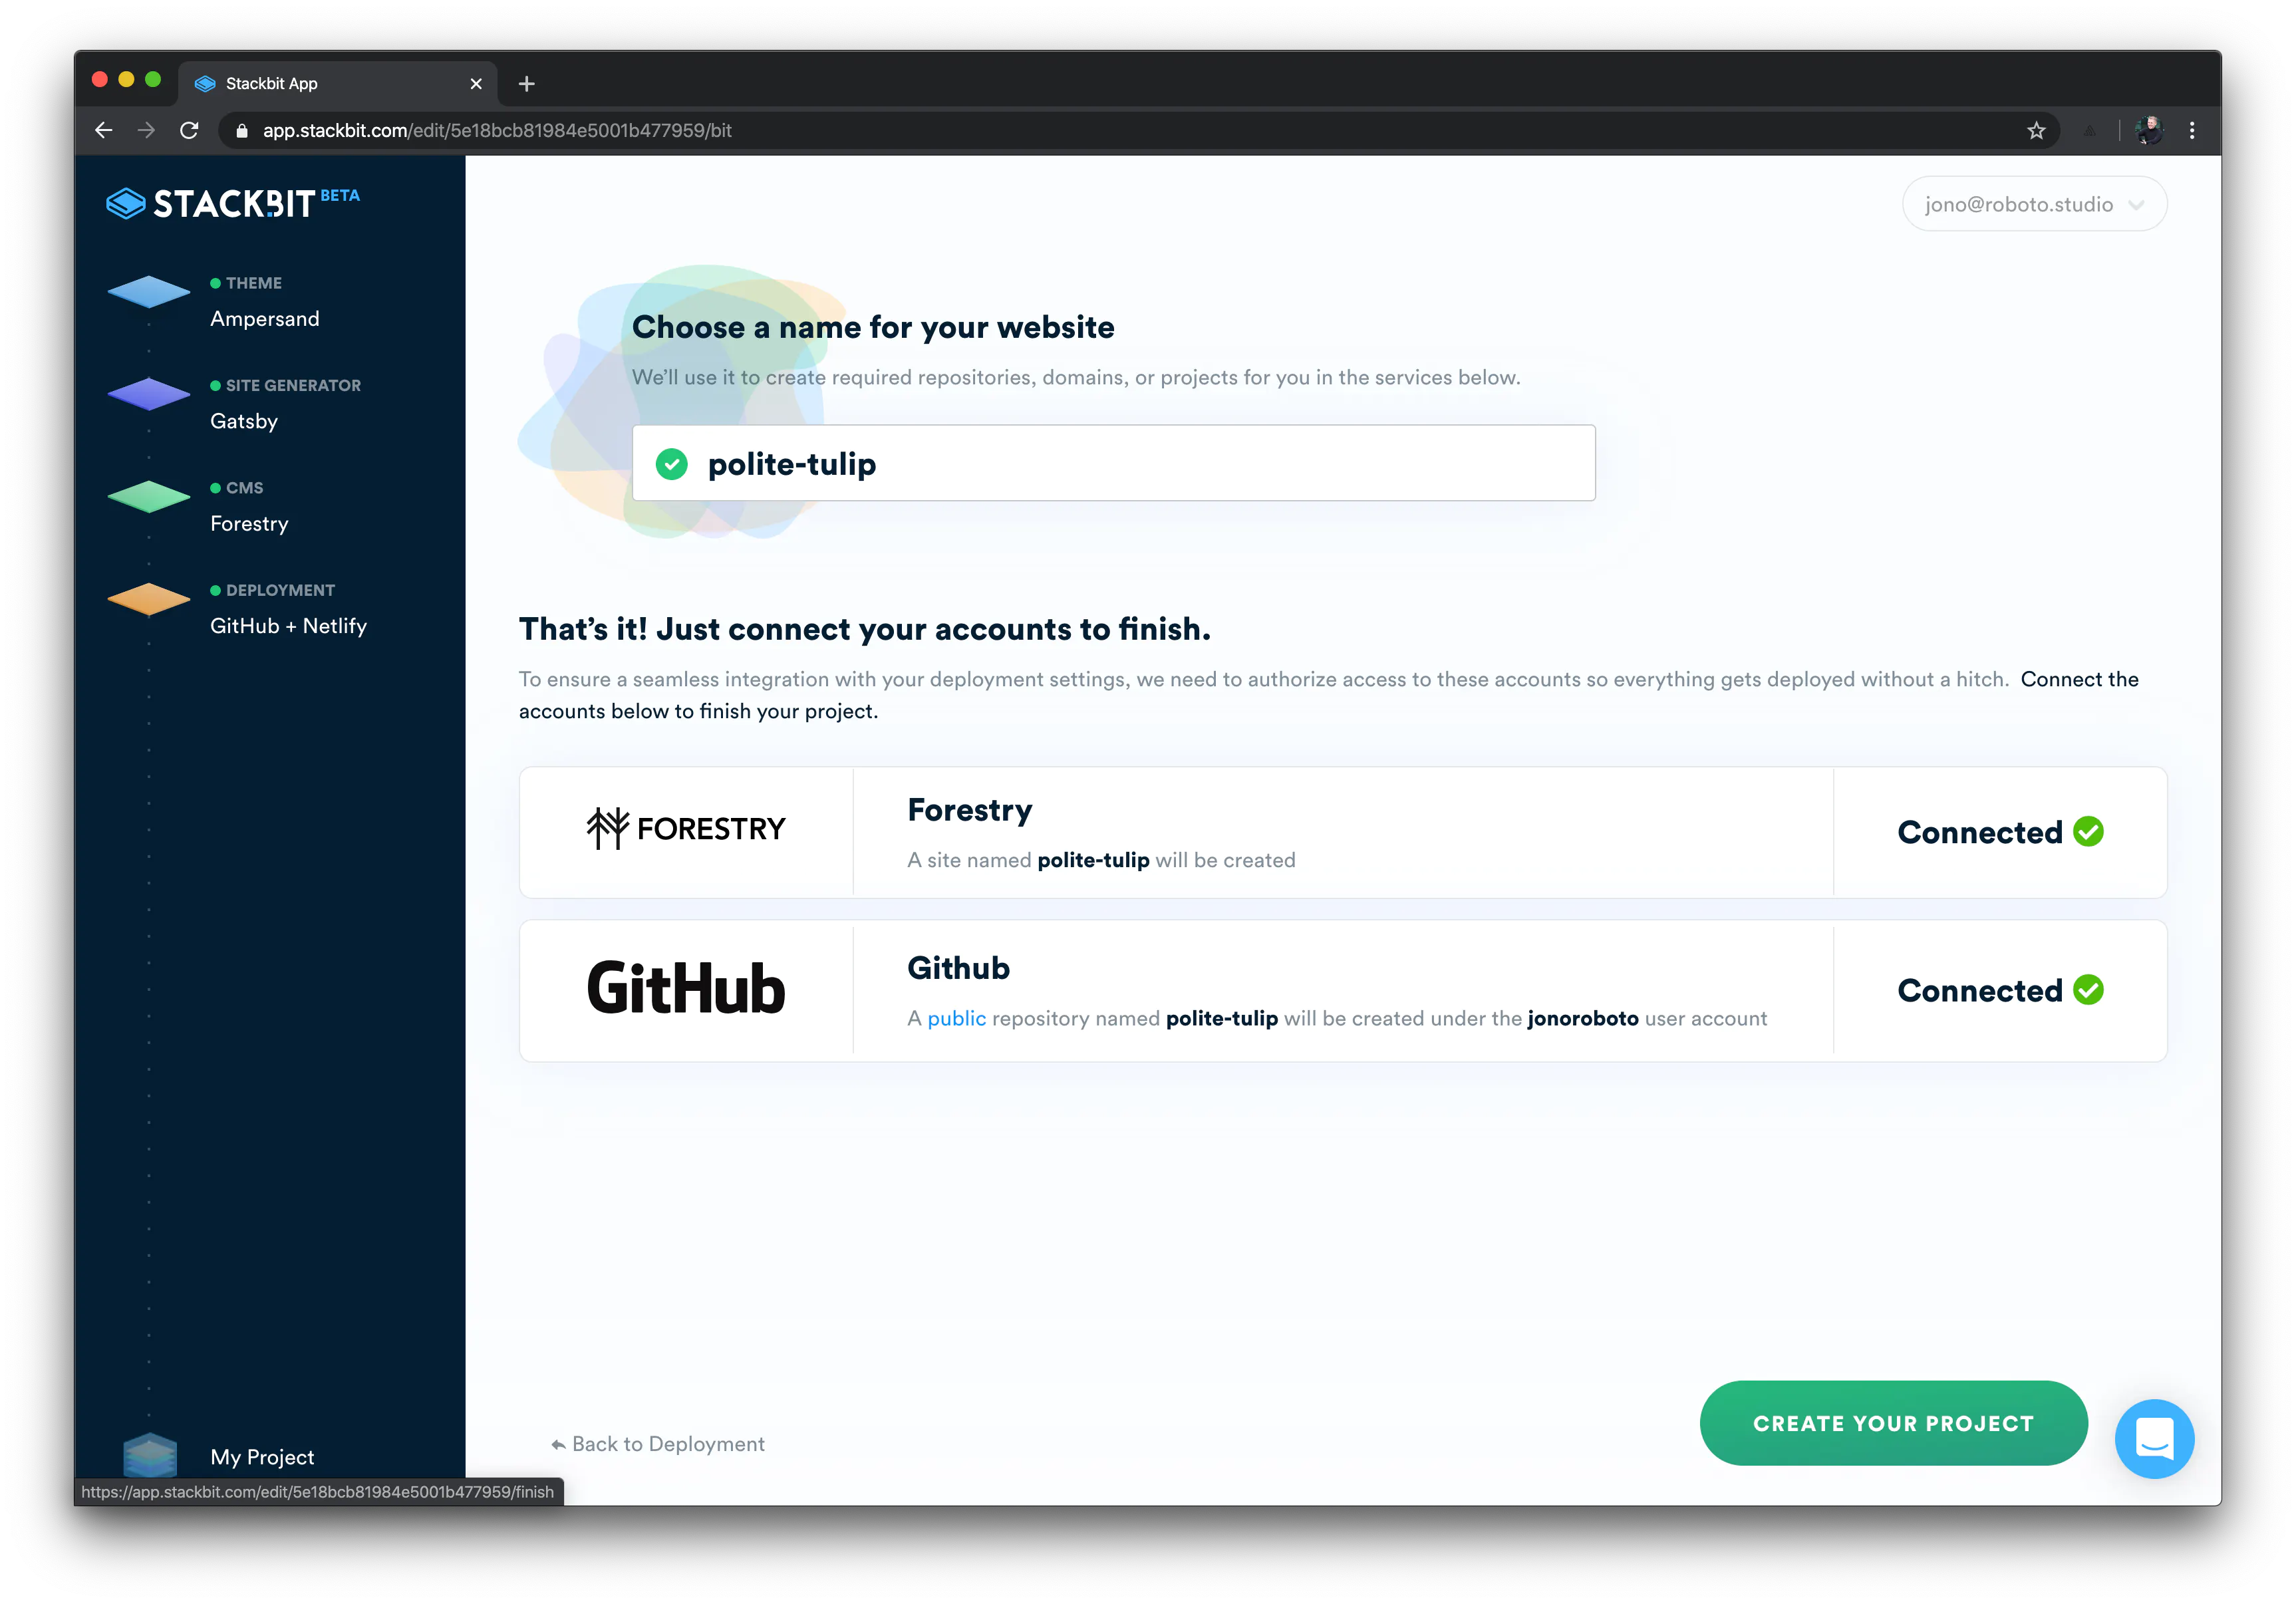
This is where the magic happens, Stackbit will commit a Gatsby website to your Github account, it will spin up an instance of Netlify and tie all of it together (rather miraculously) and setup everything to get you started with a www.yourwebsite.netlify.com domain.
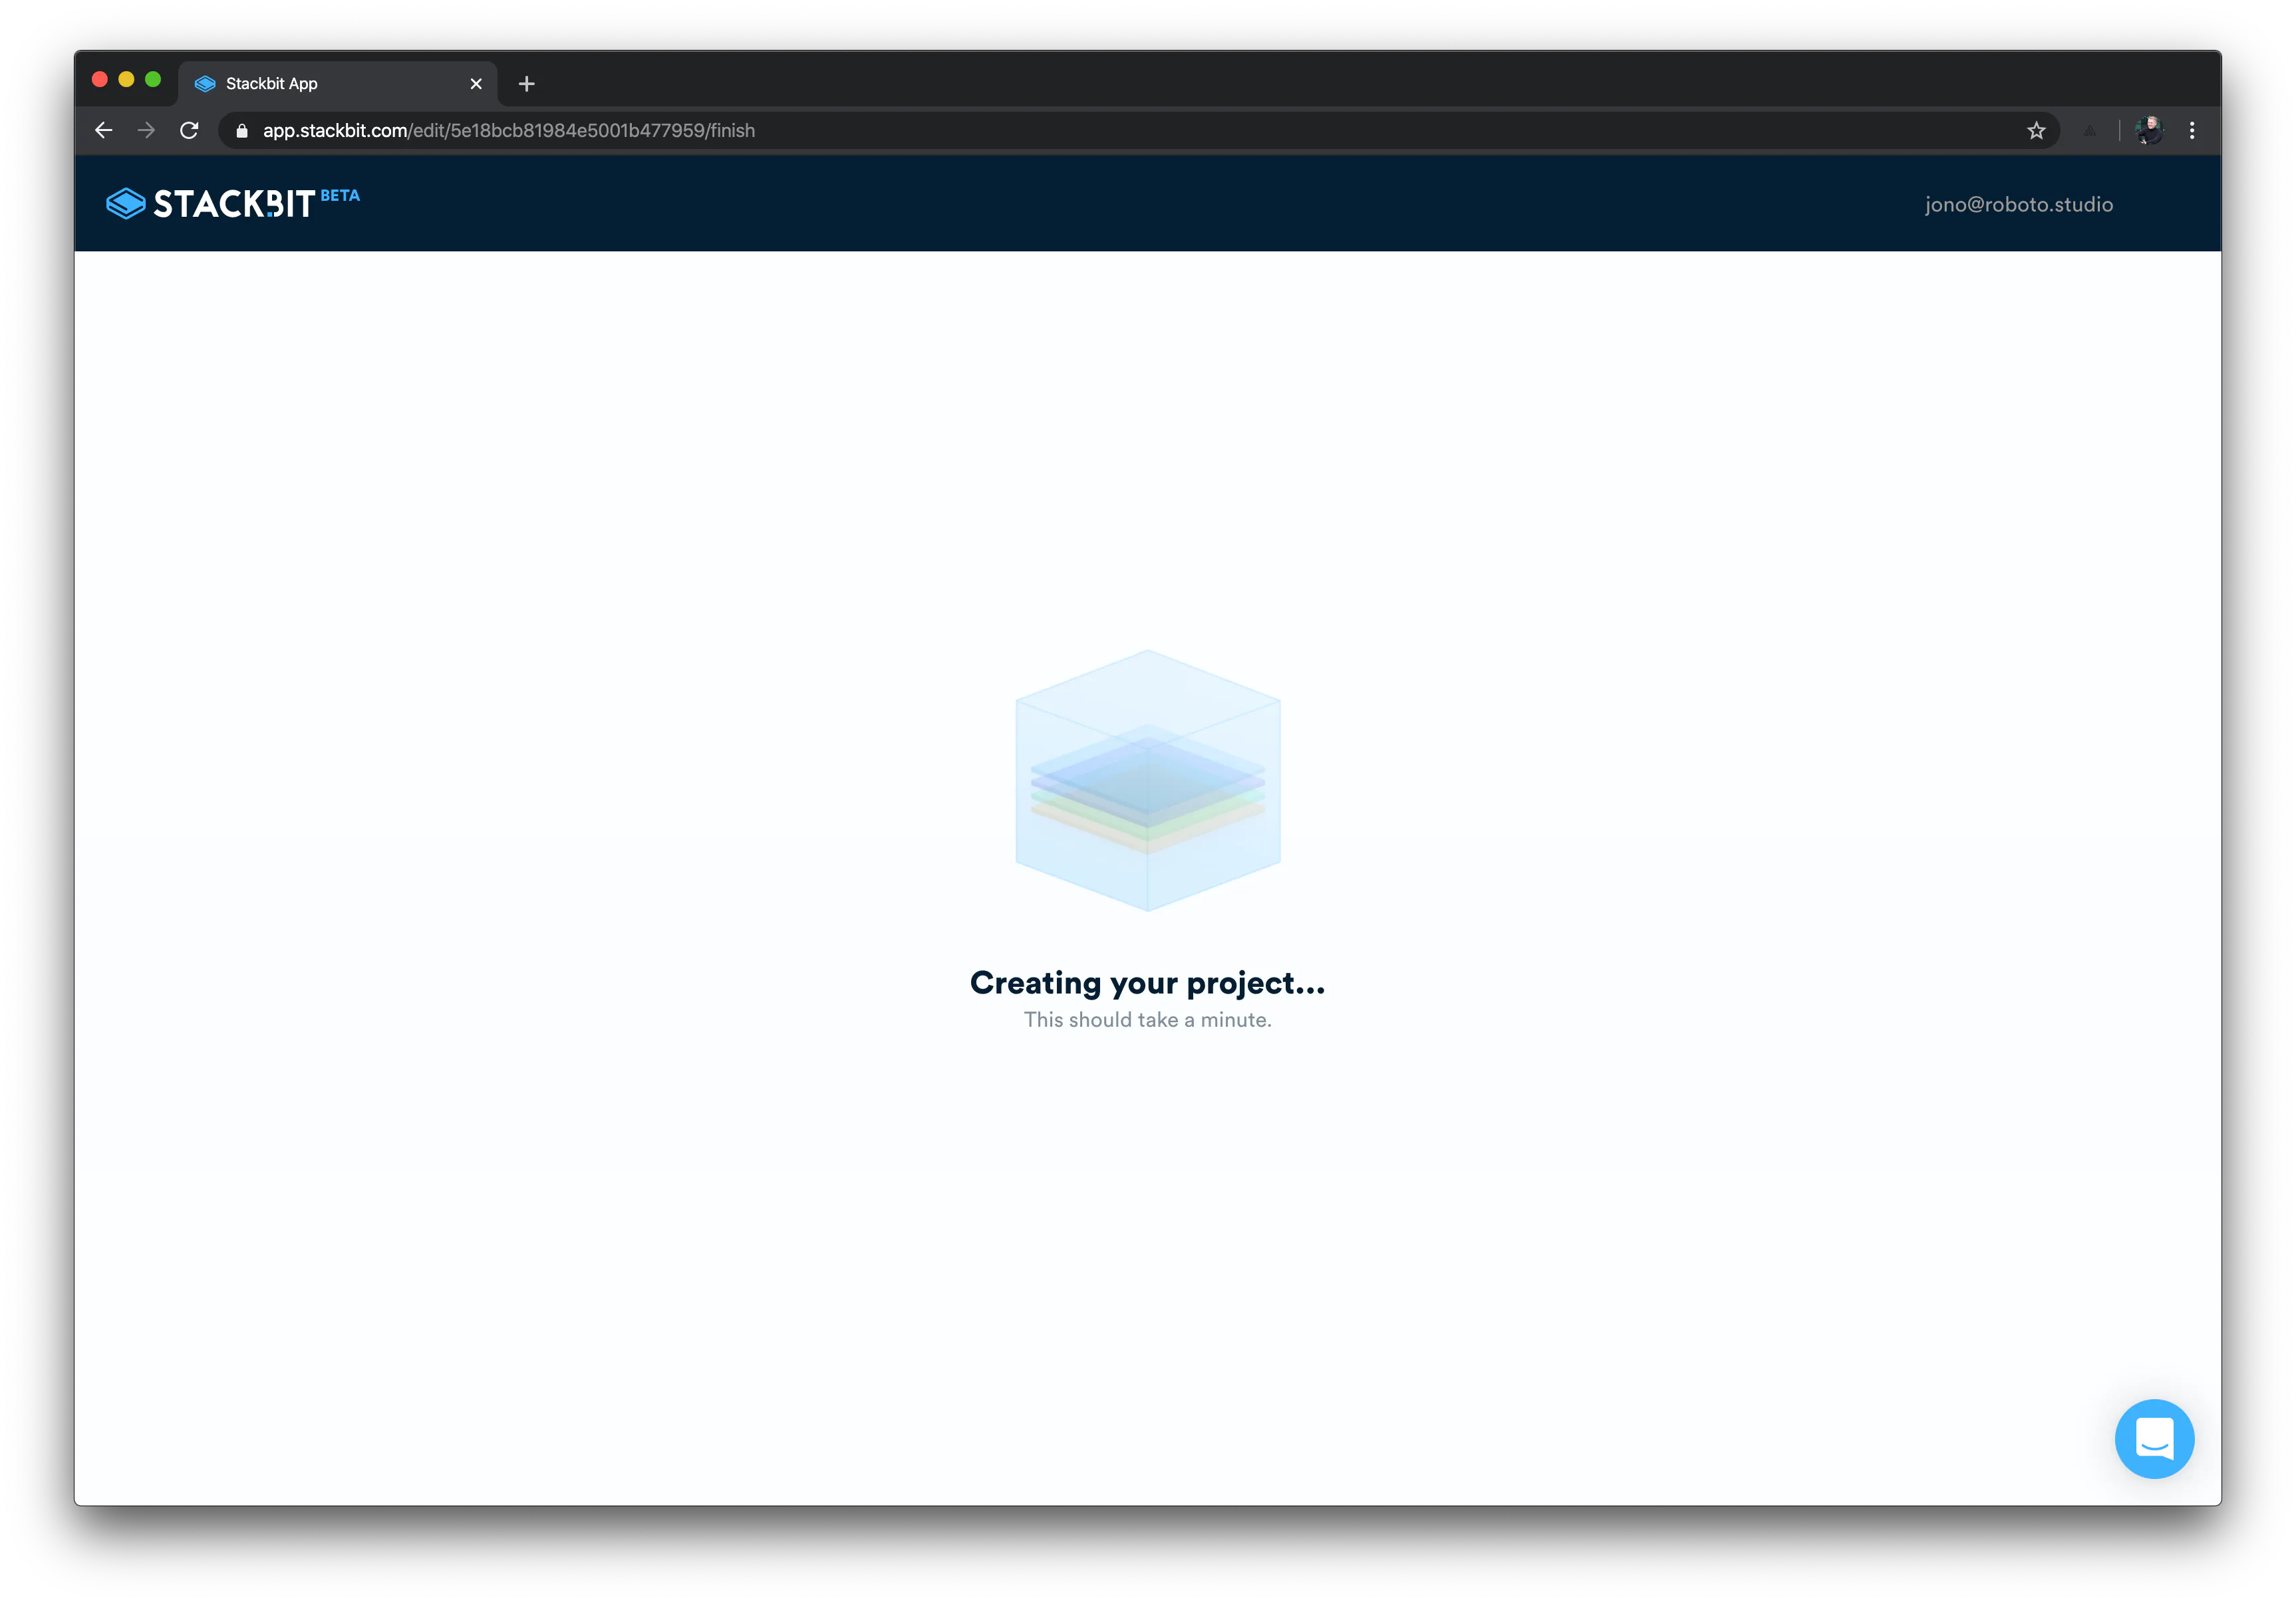
Side note - it takes roughly 60 seconds or so to deploy, so press start and put yourself on a cup of tea really quick, and by the time you're back it'll be finished.
Moving your wordpress posts into Gatsby
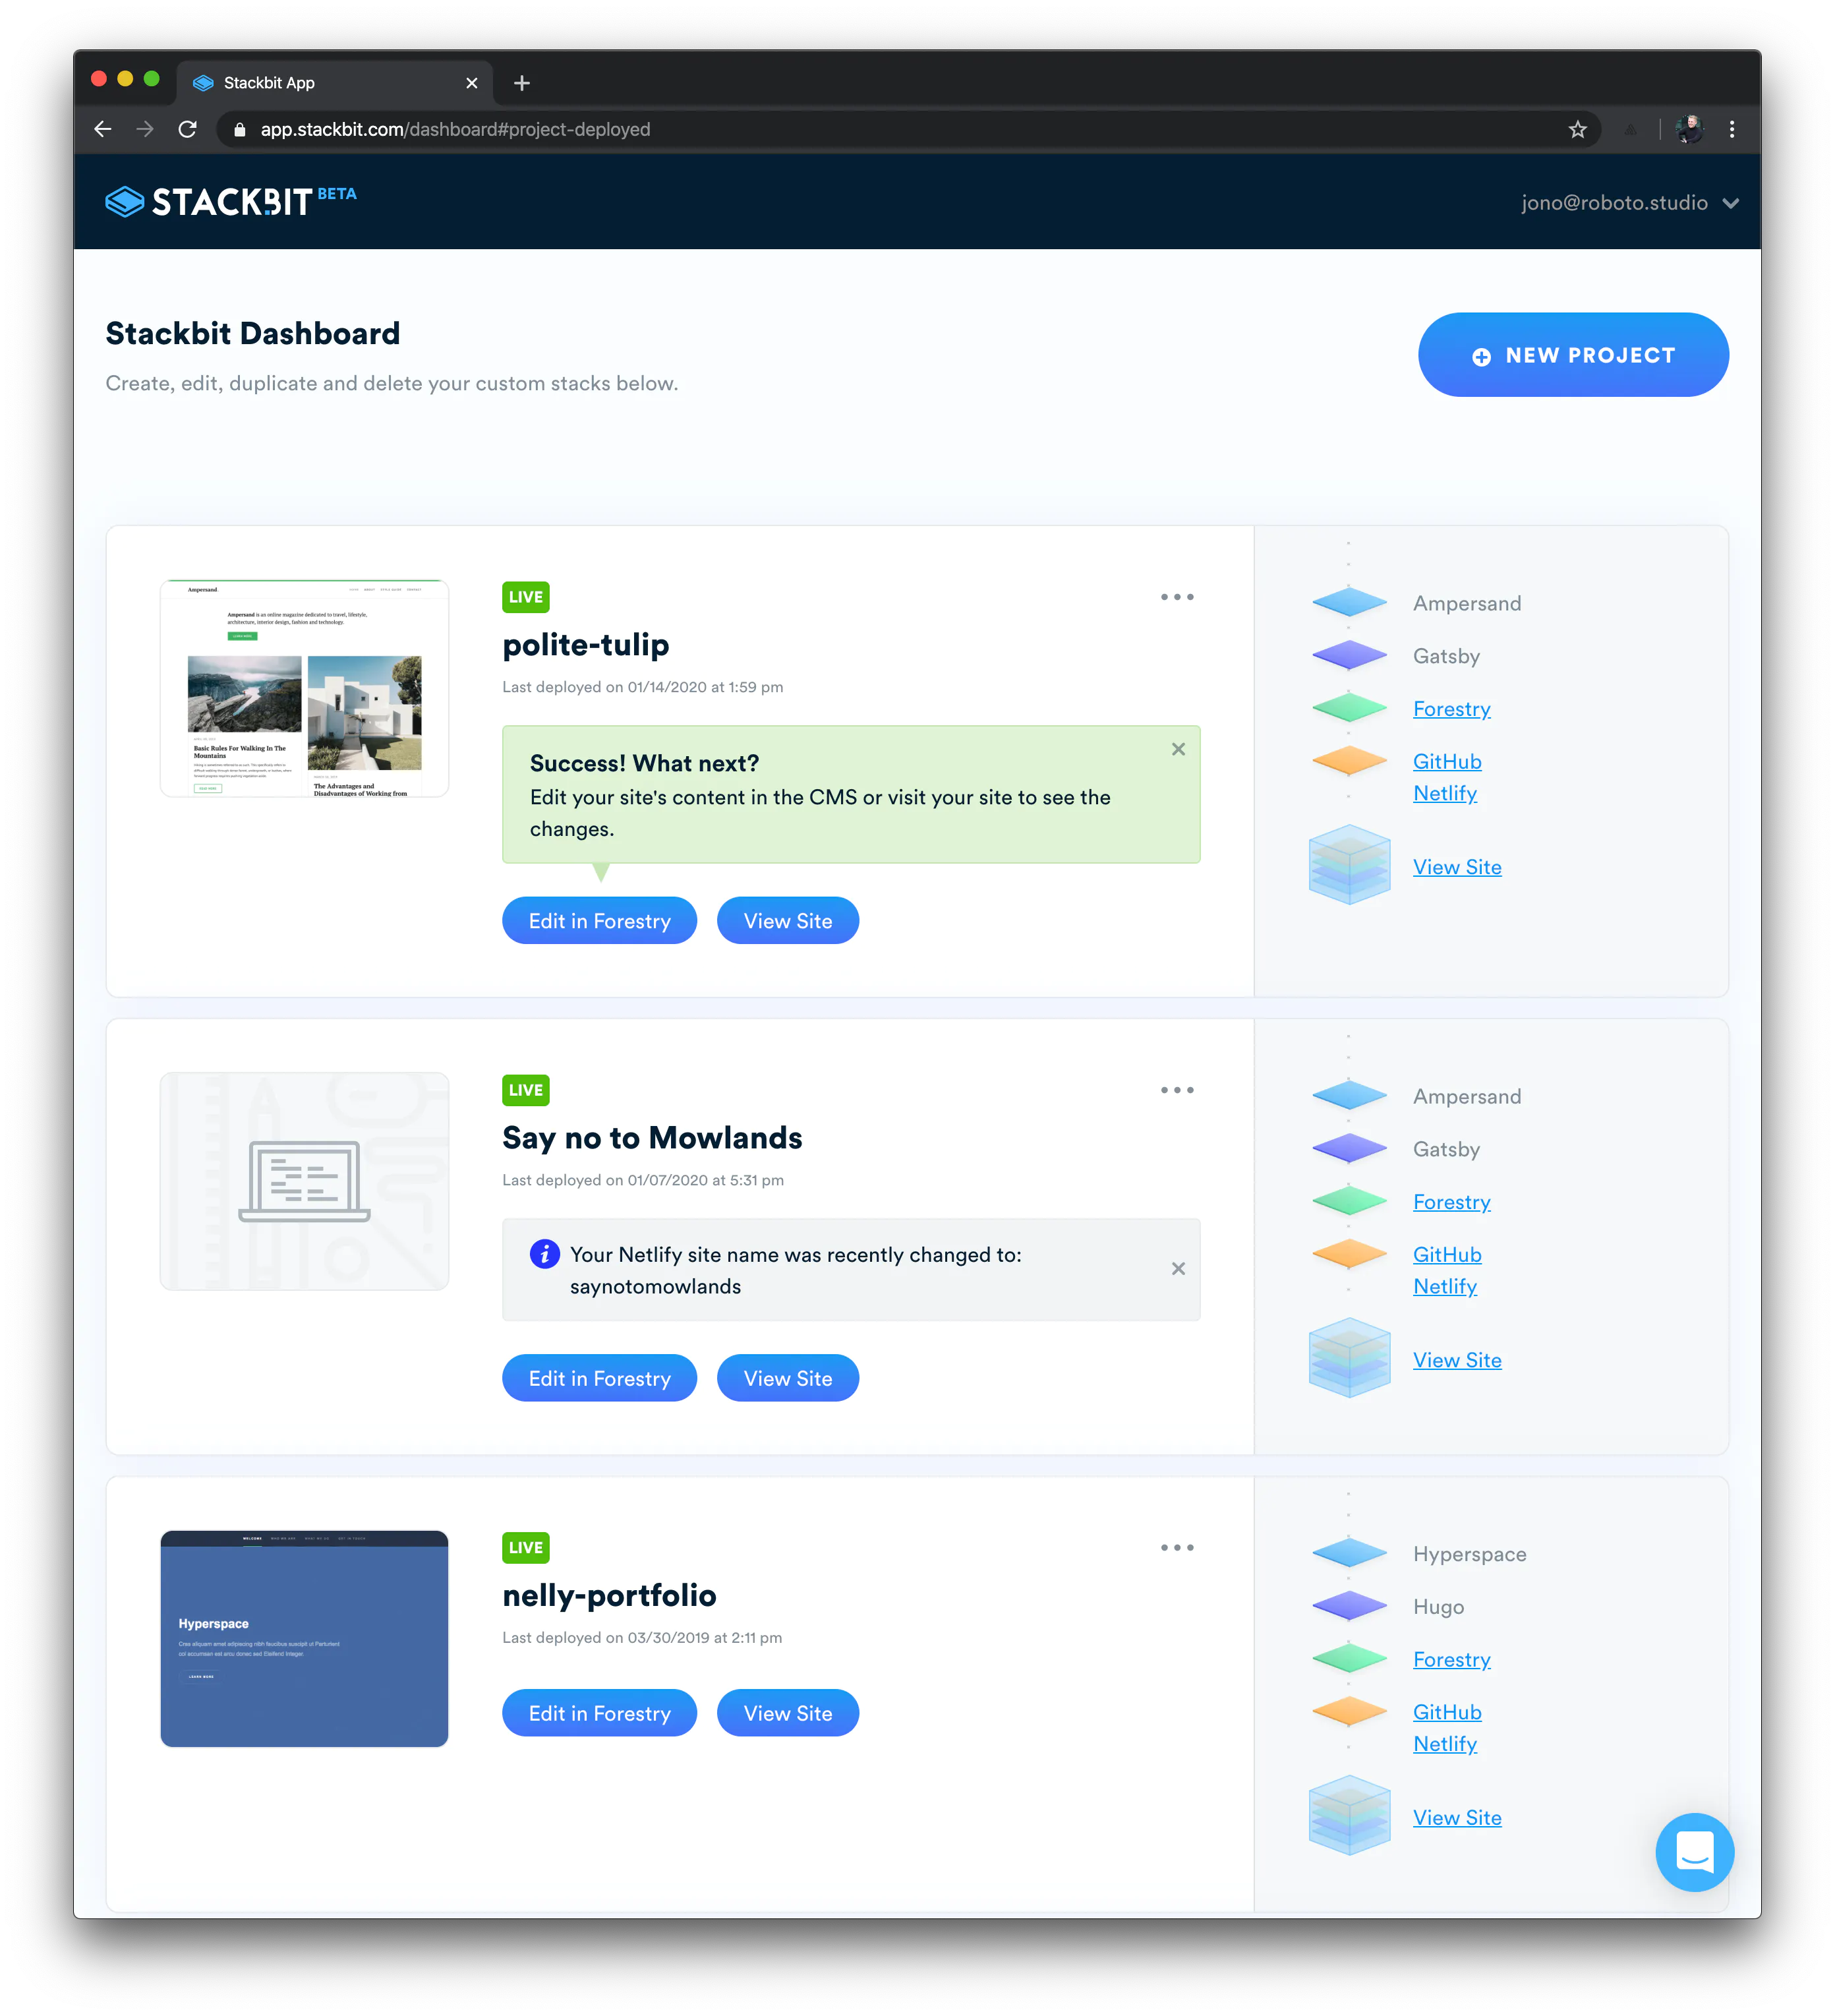
When your website is live you want to go ahead and click the GitHub link on the right hand-side
The next step is fairly simple, but for the theme we chose, it requires some modifications. A good way of working out what frontmatter you need, is by opening the files that can be accessible from: /src/pages/posts
Once you're in here you should be able to see some posts that have already been created with the site. You can click into these, for example:
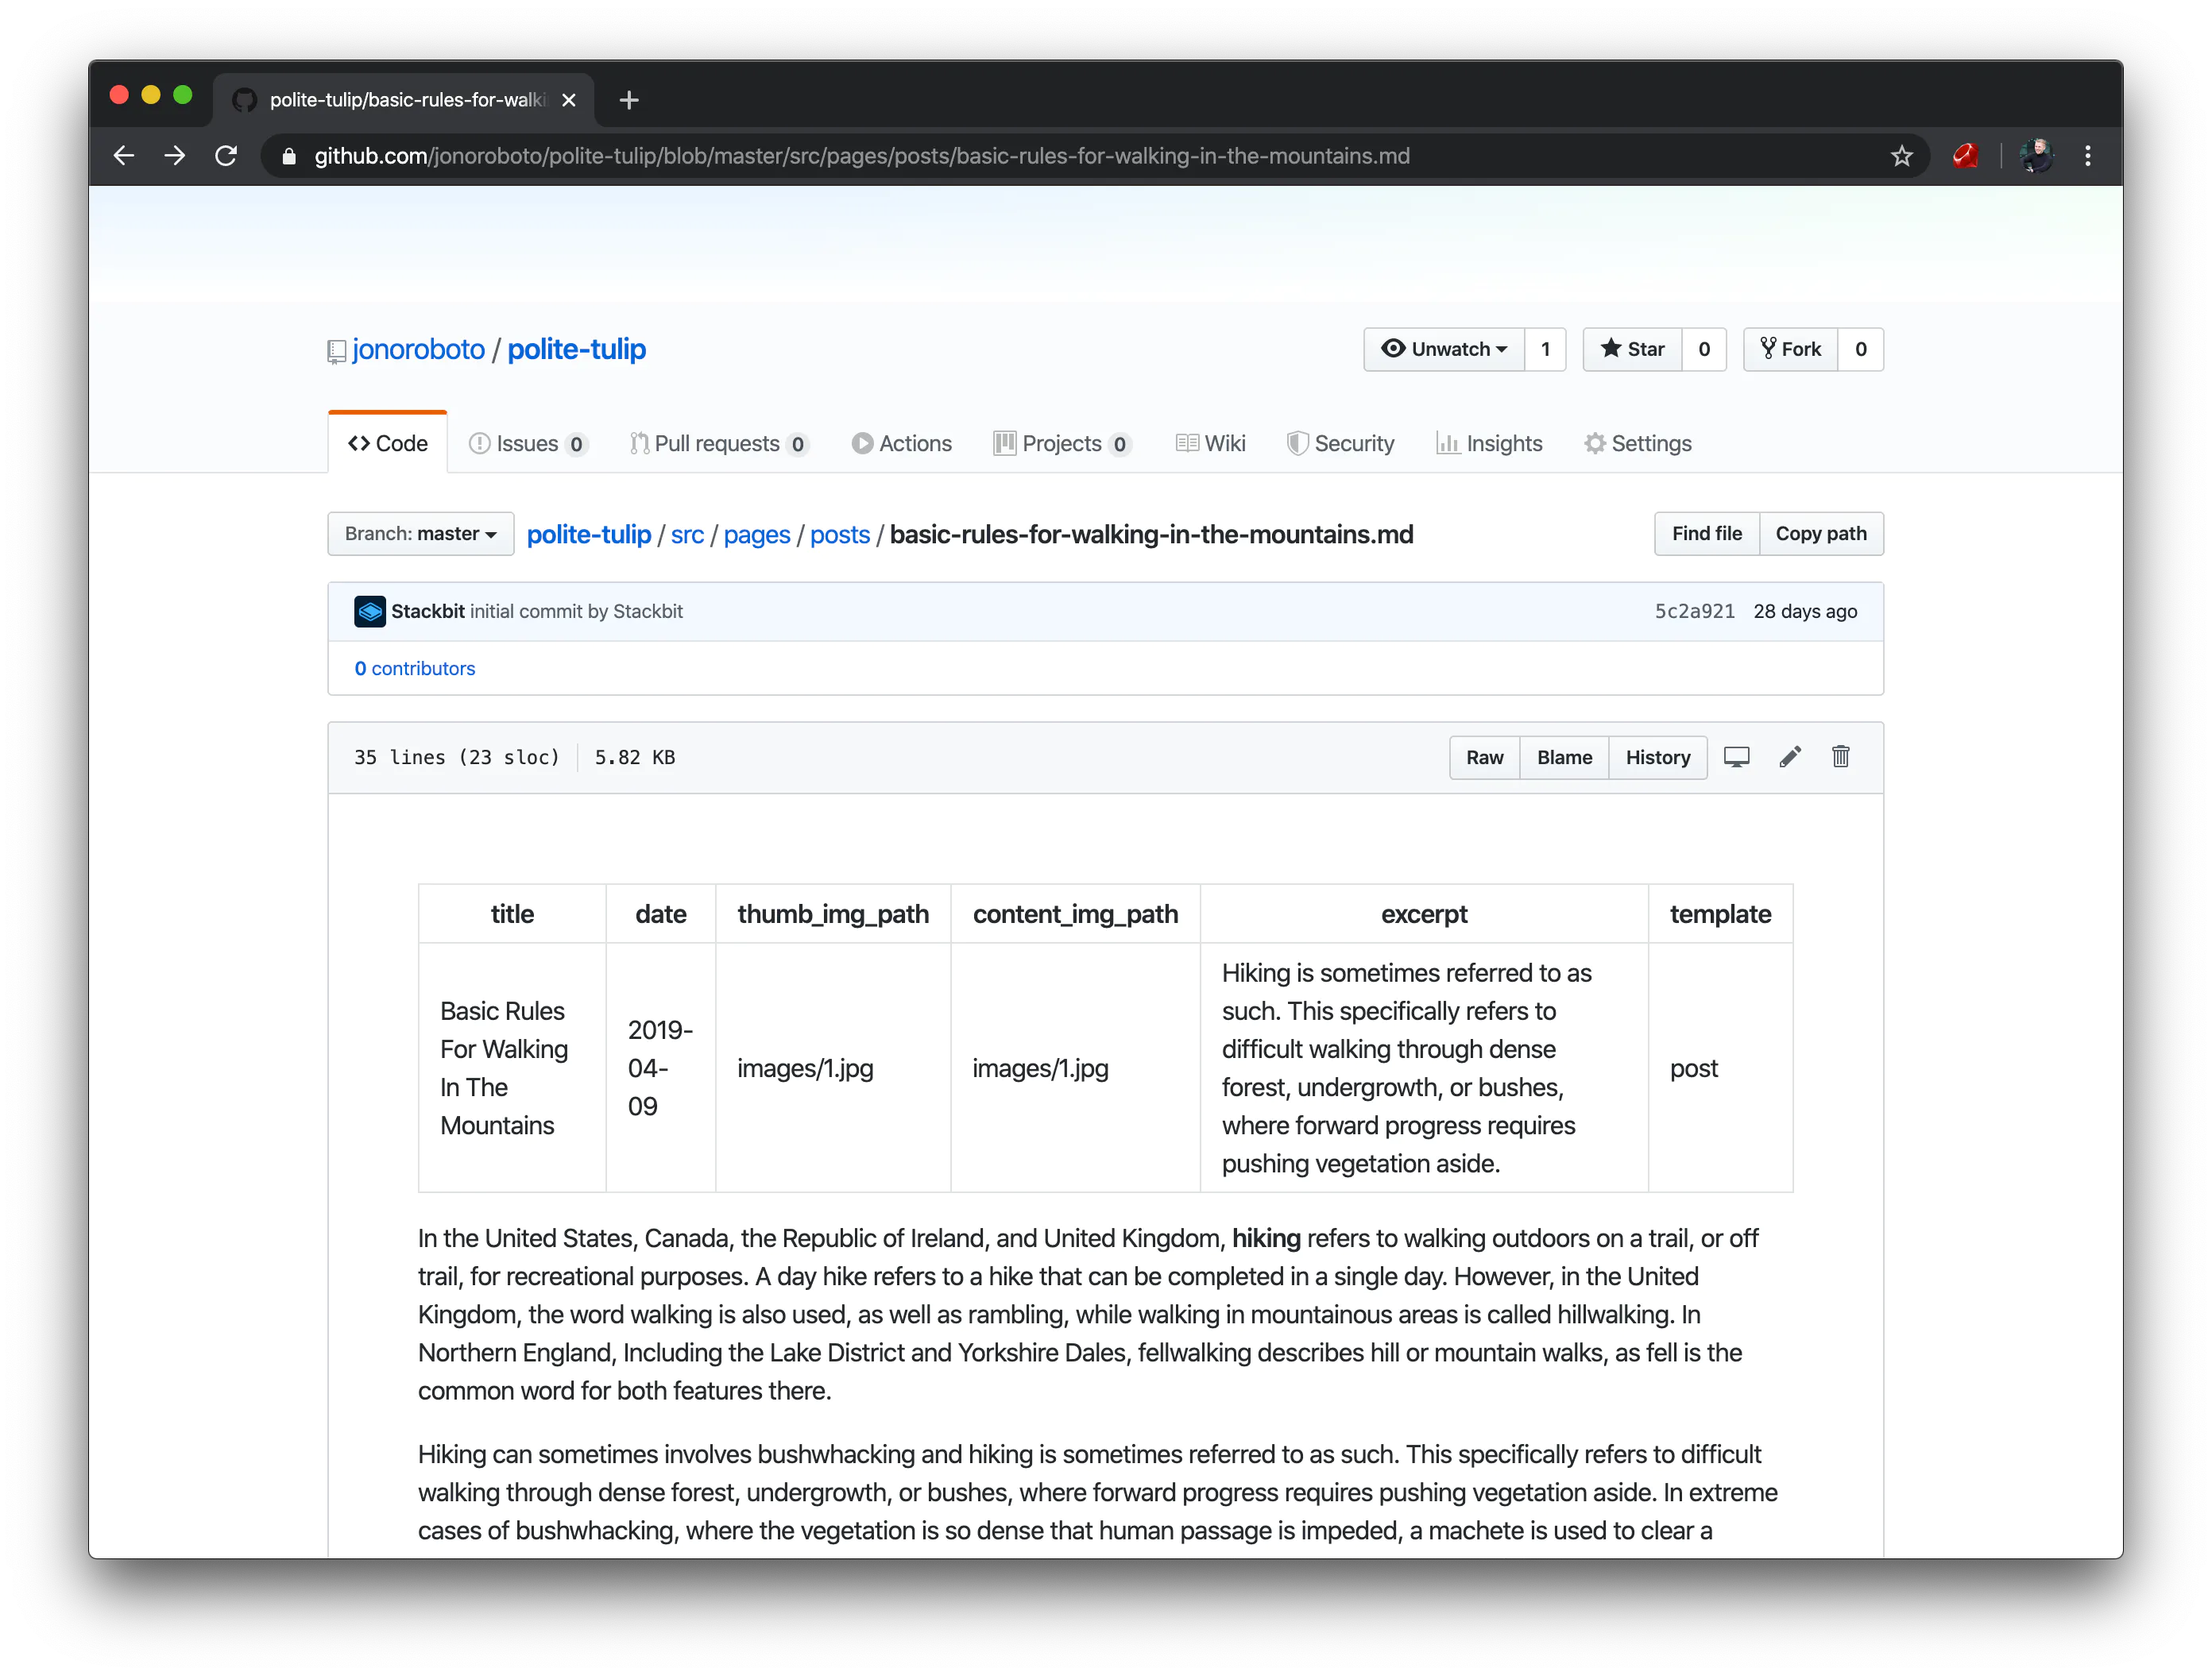
At the top, there is "Frontmatter" this is essentially the details about the specific post, pay close attention to the furthest right frontmatter item "template - post". This is how we identify the style/layout of the page.
See bottom row below.
---
title: Basic Rules For Walking In The Mountains
date: '2019-04-09'
template: post
---
What we now need to do as our last step is take the markdown generated from the Wordpress to Markdown script and add the missing "template: post" to the frontmatter. We can do this in a multitude of ways, such as Regex searching, but seen as we're into simple solutions to complex problems, we're simply going to use Visual Studios find and replace.
We're going to open the folder of all your new markdown files, and from there, you want to press cmd+shift+f and use the find and replace left hand search to find the snippet highlighted in the window below.
template: post
---
From there you're going to replace this with:
What this will do is essentially add "template:post" to the end of all your frontmatter within your markdown and allow the website to show these.
That's all folks!
If you'd like to see a working version of the above you can view a site here: https://www.saynotomowlands.com/this website was essentially migrated from a Wordpress website and is now roughly 5x faster with minimal hosting costs.
If you get stuck, drop a message across to hello@roboto.studio and we'll get in touch to see if we can help you with the migration