

We started this article because we noticed that the same old points come up every time somebody talks about SEO with Sanity — use meta-titles, implement a live preview, design open graph images etc. We're a little guilty of doing this ourselves.
However, what we haven’t seen, is a fully fledged, highly technical article full of real world examples and actual code, not just surface-level hodgepodge.
In this article, we have pieced together all our Sanity SEO related best practices and the ways to implement them. We start with the basics, but if you're impatient, you can skip to the hard stuff.
The easy stuff
Fallbacks
🚨 If you're a dev, make sure to read this paragraph and really take it in before you start. This underpins all of our schema and is extremely important.
I want to talk about fallbacks, because this is our opinionated method of handling SEO and Sanity schema in general. We build all of our documents with a title and description. Not meta, not open graph, just title, just description.
Why do we do this? Well it's because it's our fallback. Meaning we can throw a required validation in our Sanity schema, and it's the bare minimum required to generate a document. This also means that whenever we are generating our meta titles and meta descriptions we can use this as our rock bottom, lowest effort version of the page.
Why is this important? Well we believe in content velocity. Emphasis in velocity. If you ask an author to fill out: a title, a description, a meta title, a meta description, an OG title and OG description... You'll never get anything done. So how do we get round this? We ask the bare minimum of the editor, to add a title and a description.
This is especially useful for developers, especially those using Typescript, because you won't have to use a hell of a lot of conditionals throughout your code, you always know that if a client hasn't setup a meta title, it'll fallback to a title, so no sweat.
How we structure this? See below.
Meta titles
metaTitle else title
This one is a little different in comparison to the rest, because you may realise there isn't a <meta title="..."/>. However, you may want to use the title when referencing this as a card from another page. E.g:

Meta descriptions
metaDescription else description
Open graph titles
ogTitle else title
Open graph descriptions
ogDescription else description
It makes perfect sense right? That's why we use it. Don't overcomplicate it.
How many titles & descriptions?
By now you're probably wondering why there's so many titles and descriptions of varying natures. Surely an editor isn't going to fill out all of these, surely this is a huge waste of time... Bingo. An editor isn't going to waste time filling all of these out. However, they will care if their article hits tens of thousands of views and the traffic starts converting to sales. That's the reason you do this. Then and only then, is when you tweak, change and optimise and it's worth putting the time in.
The other benefit of doing this is the ability to standardise your SEO code across all page types. If you standardize, you can make it DRY (don't repeat yourself) and spend less time building page types in the future. More predictability when pull meta data, faster dev, better website.
Alt texts
Think about this for a second, you're a person with a visual impairment, you're on a website and you want to know what's going on... Lucky for you, somebody set the alt text to: "Stock Image"...
As you can imagine this doesn't actually help with understanding what is going on in the image. Is it a "swan flying gracefully in the sky" or maybe a "cat clinging on to a branch", with text beneath reading "hang in there"?
Whatever it is, adding an alt text field and pulling that alt text into your image components — can help your folks who use screen readers and you get some free good karma as part of the process.
If you want a nice and simple method of doing this on your images, you can use the fields on an image schema. Check it out in our examples below.
Simple version of Sanity Image
This is the barebones with the alt text field attached
{name: 'image',title: 'Image',type: 'image',// Add the alt tag to this as an additional fieldfields: [{name: 'alt',type: 'string',title: 'Alt Text',},],},
Fancier version with alt, required & captions
This is the "all the trimmings" version, aim for this level of fidelity
import { defineField } from 'sanity';// Import of the define field// Include the definefield so it tells you// When you screw up. Cheers Typescript.defineField({name: 'image',title: 'Image',type: 'image',validation: (Rule) => Rule.required(),fields: [{title: 'Alt Text',name: 'alt',type: 'string',description: "An alternative text for folks with screen readers. Describe what is in the image",},{title: 'Caption',name: 'caption',type: 'string',description: "A caption that sits below the image for context",},],options: {// Add the hotspot to allow the client to// choose which parts of the image will get croppedhotspot: true,},}),
Want to learn more about handling images within Next.js and Sanity? We've got a whole article about what we think is the best Next.js image component.
Indexing, or not indexing
There will be times when certain pages need not be indexed by the search engine, so to let the editor control which pages don't get indexed, we make a boolean field like this. If you want to avoid a lot of pain in the future, make sure you set the initial value as false:
Do not index schema
{name: 'seoHideFromLists',title: 'Hide from lists',description: "If checked, this content won't appear in any list pages. A user will still be able to visit the page if they know the exact URL",type: 'boolean',initialValue: () => false,}
Here's a visual of it inside the studio, simple right?

Bonus tip: "Hide from lists"
So no-index is great for avoiding Google indexing the page. However, there may be times when you want to show somebody a preview of a page who is not a Studio member. That's where our "Hide from lists" toggle comes into play.
{name: 'seoHideFromLists',title: 'Hide from lists',description: "If checked, this content won't appear in any list pages. A user will still be able to visit the page if they know the exact URL",type: 'boolean',initialValue: () => false,group: CONST.SEO,}
Then for your GROQ query, you want something along the lines of:
*[_type == "blogPost" && !seoHideFromLists]{// Then whatever you want in here}
Improving your site structure
So start with all your pages and content you want to cover, and simply break them down into a hierarchal list indented. The indentations are very important, so don't dismiss it as though I've lost my marbles. You can go into a tool like Apple Notes and just dump a very lo-fi top level of your content types. E.g blogs, projects, services etc
⚠️ Remember: this is a speed-run so don't sweat this part too much. I'll share a rough idea of ours.

Feeding lo-fi sitemap into Figjam
If you don't know what Figjam is, it's not a preserve, it's basically Figma's answer to Miro (an interactive multiplayer whiteboard). What's really cool about it though is that you can use it for free, and you can collaborate with your team in a very low-friction way.
So here's what we're going to do, we're going to take the above indented list, and we're going to feed it into figma and ask it to return a sitemap using the Visual Sitemap plugin.
What you'll get is a rough outline of your sitemap in a hierarchy. These are great for planning in the most basic way, how you want your content URLs to look. For example:

Structured data
Next.js introduces a versatile Metadata API for enhancing SEO and shareability, we do have a helper function that generates dynamic content-specific metadata.
// lib/seo.tsexport const getOgImage = (seoImage?: ImageProps,image?: ImageProps,options?: {title?: string;type: string;id: string;},) => {if (seoImage)return urlFor(seoImage).width(ogImageDimensions.width).height(ogImageDimensions.height).url();const { title, type, id } = options ?? {};const params = new URLSearchParams({});if (title) params.set('title', title);if (id) params.set('id', id);if (type) params.set('type', type);if (image) params.set('image', urlFor(image).url());return 'api/og?' + params.toString();};export const getMetaData = (data: any): Metadata => {const {_id,_type,seoDescription,seoImage,seoTitle,slug,image,ogTitle,ogDescription,title,description,} = data;const meta = {seoTitle: seoTitle ?? title ?? '',seoDescription: seoDescription ?? description ?? '',ogTitle: ogTitle ?? title ?? '',ogDescription: ogDescription ?? description ?? '',};const ogImage = getOgImage(seoImage, image, {title: meta.ogTitle,type: _type,id: _id,});const metadata: Metadata = {title: meta.seoTitle,metadataBase: new URL(baseUrl),description: meta.seoDescription,creator: 'Roboto Studio',authors: {name: 'Roboto Studio',},openGraph: {type: 'website',countryName: 'UK',description: meta.seoDescription,title: meta.seoTitle,images: [{url: ogImage,width: ogImageDimensions.width,height: ogImageDimensions.height,alt: meta.seoTitle,secureUrl: ogImage ,},],url: getPageUrl(slug?.current),},};return metadata;};
this function is then used on pages like this.
// /page.tsxexport const generateMetadata = async ({params,}: LocaleParams): Promise<Metadata> => {const { locale } = params ?? {};const data = await getHomePageData(locale);if (!data) return {};return getMetaData(data);};
Redirects
We've built a sophisticated solution for managing redirects, utilizing Sanity as our content infrastructure. This approach enables us to store and dynamically fetch redirect rules within our Next.js applications. It offers flexibility and scalability, allowing us to update and maintain our redirects efficiently, without the need for hard-coded adjustments or deployments.

Here's how we pull it from inside of next.config.js. Just be aware, this can be pretty destructive if you screw it up, so I would highly recommend creating validation so you don't end up nuking your own website.
// next.config.jsconst redirectDocs = `*[_type == 'redirects'][0].redirects`module.exports = {async redirects() {const docs = await sanityClient.fetch(redirectDocs);return docs.map(({ destination, source, permanent }) => ({destination,source,permanent:!!permanent,}));},}
Sitemaps
We are using the simplest possible solution to generate a sitemap on the fly, not just that, but it's typesafe as well, kudos to Next.js docs here
import { MetadataRoute } from 'next';import { baseUrl } from '~/config';import { getClient } from '~/lib/sanity';import { SitemapProjection } from '~/types';type SiteMap = Pick<MetadataRoute.Sitemap[number],'changeFrequency' | 'priority'>;const formatToSitemap = (data: SitemapProjection[],options: SiteMap,): MetadataRoute.Sitemap => {return data.map(({ _updatedAt, slug }) => ({url: `${baseUrl}/${slug.split('/').filter(Boolean).join('/')}`,lastModified: new Date(_updatedAt),...options,}));};export const sitemapQuery = groq`*[_type in $types && defined(slug.current) && seoNoIndex != true ]{"slug":slug.current,_updatedAt,_type,_id}`;export default async function sitemap(): Promise<MetadataRoute.Sitemap> {const client = getClient();const slugPages = await client.fetch(sitemapQuery, {types: ['mainPage','page','blog','product','categoryIndex','blogIndex',],});const formattedSitemaps = formatToSitemap([...slugPages], {changeFrequency: 'weekly',priority: 1,});return [...formattedSitemaps];}
Harder stuff
Organizing all the above
Sanity allows us to have groups in the editor layout. With something like this, we can avoid doom scrolling to find relevant content pieces when you need to edit something quickly. Here's a quick video that helps understand this better:
Here's a code example on how we can group fields for a page.ts document.
export const page = {name: 'page',title: 'Page',type: 'document',groups: [{title: 'Main Content',name: 'mainContent',},{title: 'SEO',name: 'seo',},],fields: [{name: 'name',title: 'Name',type: 'string',group: 'mainContent',},{name: 'slug',title: 'Slug',type: 'slug',group: 'mainContent',},{name: 'email',title: 'Email',type: 'string',group: 'mainContent',},{name: 'seoTitle',title: 'SEO Meta Title Override',type: 'string',group: 'seo',},{name: 'seoDescription',title: 'SEO Meta Description Override',type: 'text',group: 'seo',},],}
Generating open graph images
Asking to create an open graph image for each page on the website is a great way to piss off your designer. It's best to follow a set template for a group of pages and automate the image generation with code. That way nobody is waiting in line to get things done.
For this to work, we will be using Next.js's in-built function ImageResponse().
We will be going with a simple API route which will generate the image for us, but to understand how we usually structure it, here's a simple diagram explaining the whole setup.

The API route will get the relevant information through query parameters so that information like name, date etc are up to date on the generated image.
Abstracting away the getOgImage seems unnecessary at first, but when your site grows, all the pages need not follow the same template for the image ex: blogs, team etc. So, you can sort out your parameters in this function and call the relevant methods within the API.
And here's the code for the API route:
import { ImageResponse } from 'next/og';const genImage = async ({ title }: any) => {return new ImageResponse((<div tw="flex h-full w-full flex-col items-center justify-center bg-violet-900 text-white py-16 pl-16"><h1 tw="text-6xl mb-1 text-center">{title}</h1></div>),{width: 1200,height: 630,},);};export function GET({ url }: Request) {const { searchParams } = new URL(url);const params = Object.fromEntries(searchParams.entries());try {return genImage(params);} catch (error: any) {return new Response(error.message, { status: 500 });}}
And with that, we can test it on the browser to check if it's working like this:

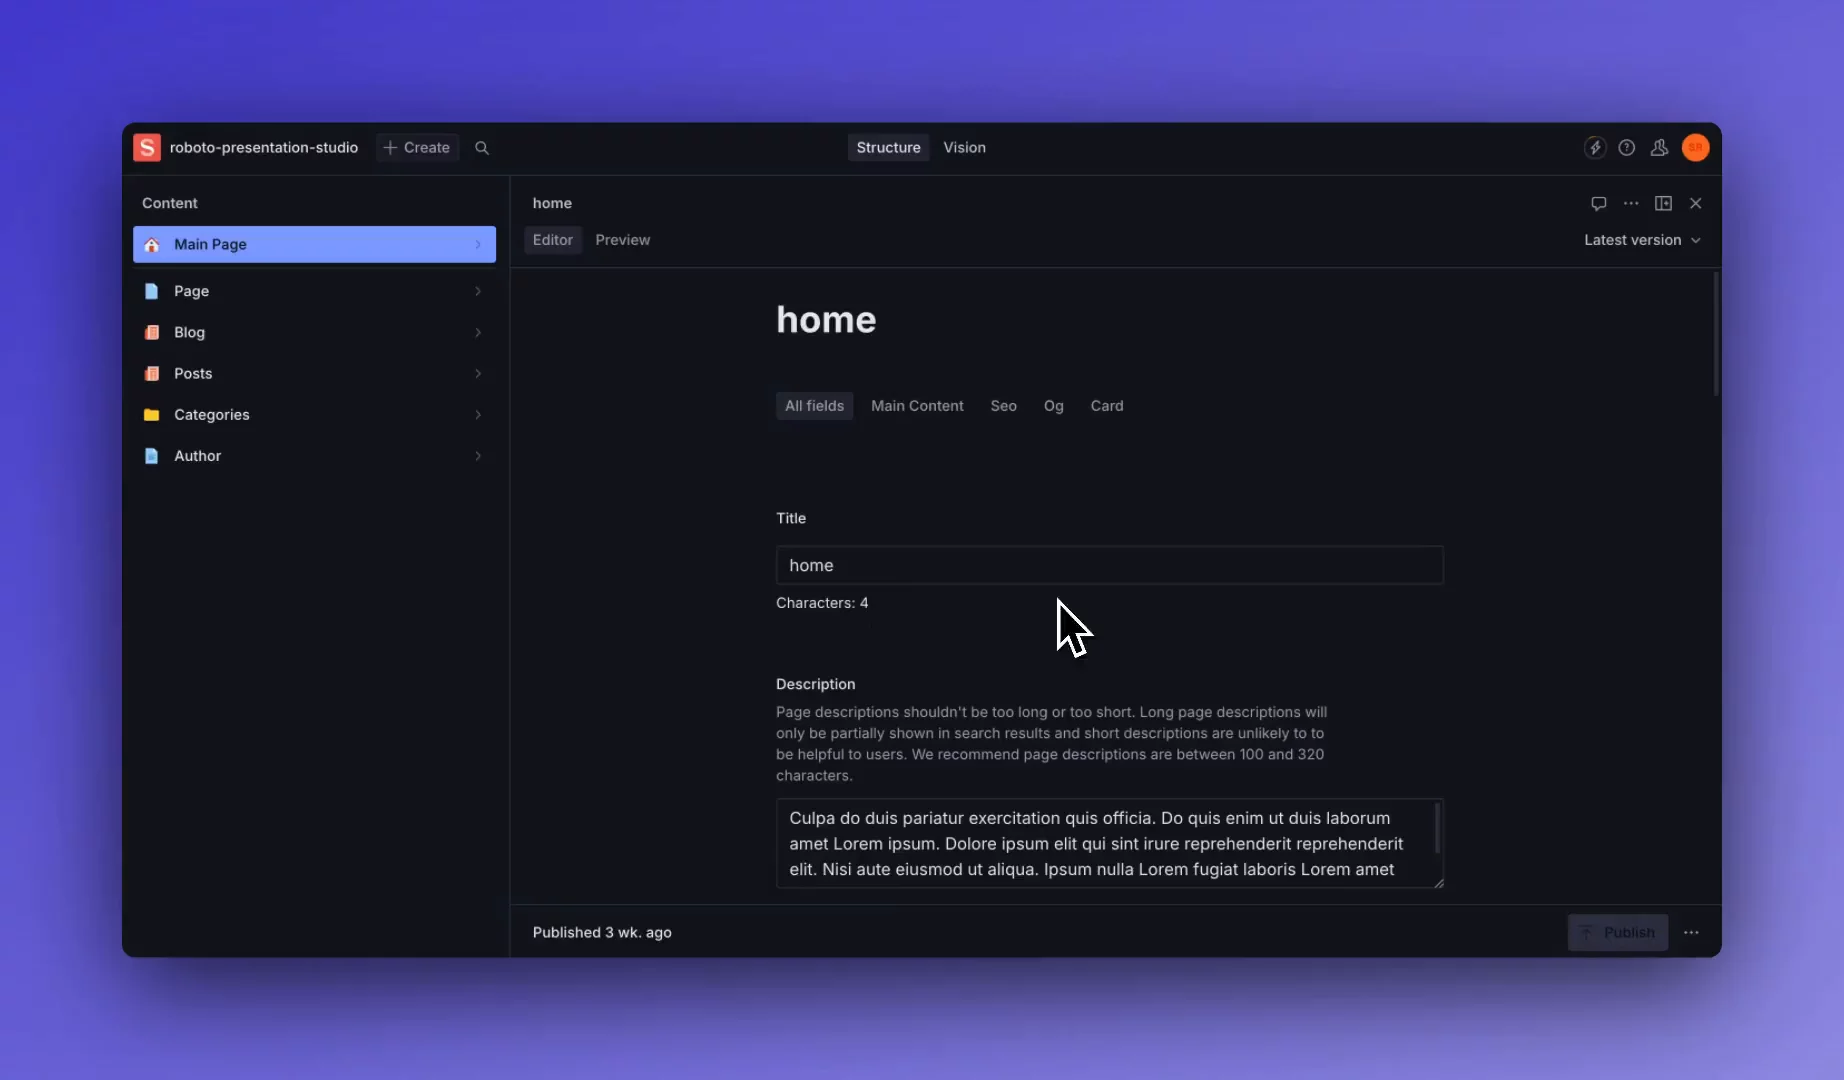
Adding a character count & limit to one of your components
Did you know that google shows only 160 characters in the meta description and trims out the rest? so it's best to know when you are about to reach the limit.
// in /schema/author.tsx or .jsximport {Stack, Text} from '@sanity/ui'function MyStringInput(props: any) {return (<Stack space={3}>{props.renderDefault(props)}<Text size={1}>Characters: {props.value?.length || 0}</Text></Stack>);}export const author = {name: 'author',title: 'Author',type: 'document',fields: [// same schema from above{name: 'seoDescription',title: 'SEO Meta Description Override',type: 'text',group: 'seo',validation: (Rule: any) => Rule.min(50).max(160).warning("The SEO Meta Description should be between 50 and 160 characters."),components: { input: MyStringInput },},],};
The above code gives a warning sign beside the title of the component if the character count either exceeds 160 characters or is less than 50 characters. It also shows a character counter right below the input field so that you can keep track of it. We are using Sanity's own UI kit which comes with it so that the UI looks in sync with their design system.
Pretty tricky stuff
Generating FAQ JSON-LD on the fly
Let's start by saying - generating JSON-LD is a pain in the ass. With that said, why don't we just handle it programmatically? Well that's because it's an even greater pain in the ass. Especially with Typescript (more on that later). So that's why we've included our code below so you can rip it off and pretend it's yours and impress your boss. Good on you.
So how do we make Typescript happy? Luckily Google actually built a typescript package to do exactly that. It's JSON-LD with all the nicieties of typesafety.
Here's how we structure our FAQs into a JSON-LD friendly data structure. All you need to do now is bring your own FAQs. We'd recommend building them as a Document rather than a Block for the sake of reusability. Thank us later.
import { FAQPage, WithContext } from 'schema-dts';import { Faqs } from '~/types';const getJsonFaqs = (faqs: Faqs) => {const faqJson: WithContext<FAQPage> = {'@context': 'https://schema.org','@type': 'FAQPage',mainEntity: faqs?.map((faq) => ({'@type': 'Question',name: faq.question,acceptedAnswer: {'@type': 'Answer',text: portableRichTextToHtml(faq.answer),},})),};return faqJson;};
and now using faq JSON-LD data from above inside FaqsBlock for our pageBuilder
export const FaqsBlock: FC<FaqBlockProps> = ({ faqs, title, richText }) => {const jsonFaqs = getJsonFaqs(faqs);return (<section className="relative my-16 px-4">{/* Faqs Block Design Code */}<scripttype="application/ld+json"dangerouslySetInnerHTML={{ __html: JSON.stringify(jsonFaqs) }}/></section>);};
Generating related fields
Internal linking is a powerful strategy to boost the SEO performance of your website as well as link related contents. However it can be time consuming having to look through your articles and cherry pick content...
Wouldn't it be easier if it was entirely programmatic so you don't even need to worry? We've got you covered.
Here's a way in JSON-LD that you can use to describe multiple posts related to the article.
{'@context': 'https://schema.org','@type': 'Article',name: 'Article title',url: 'https://www.example.com/logo.jpg',datePublished: new Date().toISOString(),dateModified: new Date().toISOString(),description: 'Article description, keep it short and sweet',hasPart: [blogs.map((blog: Article) => ({'@type': 'Article',name: blog.title,url: 'https://www.example.com/logo.jpg',datePublished: new Date(blog._createdAt).toISOString(),dateModified: new Date(blog._updatedAt).toISOString(),description: blog?.description ?? 'Placeholder description',})),],}
You got the JSON-LD sorted, but what about the actual related articles? Well, if you have categorised your articles with tags, then we can write a groq query to fetch the latest 3 articles under the tag and filtering out the present article:
*[_type == "article"&& count((categories[]->_id)[@ in $categories]) > 0&& slug.current != $slug] | order(date desc) [0...3]{"categories": categories[] -> title,title,_id,description,"slug":slug.current,image}
Bonus: Google indexing script
This is not so much something that applies to Sanity but it's definitely worth knowing about if you're just starting with SEO and you're trying to get your pages indexed. A GitHub user called Goenning created google-indexing-script. For reference, we did use this ourselves, and we found it indexed around 30 extra pages that it wasn't already.

Conclusion
With all of the above, you should be well on your way to climbing through the ranks with just technical SEO alone, but I want to finish off with some heartfelt advice from our own experience of writing content for a fairly decent amount of time.
Go write. We read far too much doom-mongering and SEO black-hatting – it's brain-numbing. By far our most popular articles are scarcely related to on-trend topics, but at the end of the day, some of the articles we're most proud of, probably had double digits readership.
With that being said, you're probably looking for a silver bullet, or some ultimate wisdom about SEO... The reality is, most people don't know what the hell is going on with algorithm changes and sudden de-indexes, so don't take it as life and death. Just focus on writing content you would actually want to read, and hope to god the Google overlords decide to give you traffic.
Either that or just put a graph with exponential growth on it. That seems to work too...

Table of Contents
- The easy stuff
- Fallbacks
- Meta titles
- Meta descriptions
- Open graph titles
- Open graph descriptions
- How many titles & descriptions?
- Alt texts
- Simple version of Sanity Image
- Fancier version with alt, required & captions
- Indexing, or not indexing
- Do not index schema
- Bonus tip: "Hide from lists"
- Improving your site structure
- Feeding lo-fi sitemap into Figjam
- Structured data
- Redirects
- Sitemaps
- Harder stuff
- Pretty tricky stuff
- Conclusion


