

Picture this, it's 5:01pm, you've just pushed a change to your WordPress local environment. It all works, and looks lovely. This beauty is ready to be put out into the real world... You deploy it, you wipe the sweat off your brow and you're free to go for your weekend jamboree or whatever normal people do.
Oh wait...

It's not your fault, it happens to the best of us. But shouldn't there be a better way? A way where you can run a fully functional CI/CD without the need for juggling multiple databases, in multiple environments. We think so, and we want to show you how.
Covering some of the basics
Sanity isn't a monolithic platform, it's a "bring your own" frontend. What this means is you can throw in whatever frontend platform you want and the CMS will play nice. Whether that's Next.js, Remix, Astro, it will all work (however this tutorial is specifically aimed at Next.js because it's our personal favourite).
Why bother?
It could be that you just got fed up with all the bloat on your WordPress site, and you're itching to move away from it. Or you're testing the waters with a shiny new toy. Here's why I would migrate:
- No more database management in dual environments
- No more being locked out of documents, with real-time multiplayer document editing
- No more managing Localwp or MAMP
- Real time previews (like real-real-time)
- Faster development & better DX
- Less plugin proliferation
- No pay-for-plugins
- You don't have to act like a WordPress hosting reseller
There's a lot more but I'm not going to bore you, so just know that it has a slightly higher skill-floor, but a much, much higher pay-off if you're willing to learn.
Remember, the migration of the data is only one aspect of moving from your current stack — It's important to ensure you're structuring it well enough so your editors have a breeze editing and adding new content. Making sure your content team enjoy using it, is going to pay in dividends... Trust us.
Here are some useful tips to migrate your data, and an example of fundamental changes related to managing your site with Sanity.
Say goodbye to Gutenberg
WordPress has a GUI designer plus editor approach where it can get confusing for a new editor on how to get something added, like a CTA section below a certain blog. It makes it difficult because there are massive in-built opinionations as to how something is laid out.
Unless you absolutely know what you are doing, this will not scale well down the line with hundreds of posts and different site pages.
In Sanity, we structure it in a different way. It's more of a directive approach. The editor declares what goes where and the frontend handles the rest. Albeit the editor does not have full design control of a section but for most cases that's a good thing. We like to call it "designing on rails".
We do not want someone to sit and think about designing a section and decide what goes where, having a design system ready and just toggling things on the CMS is effective enough to ship things faster.
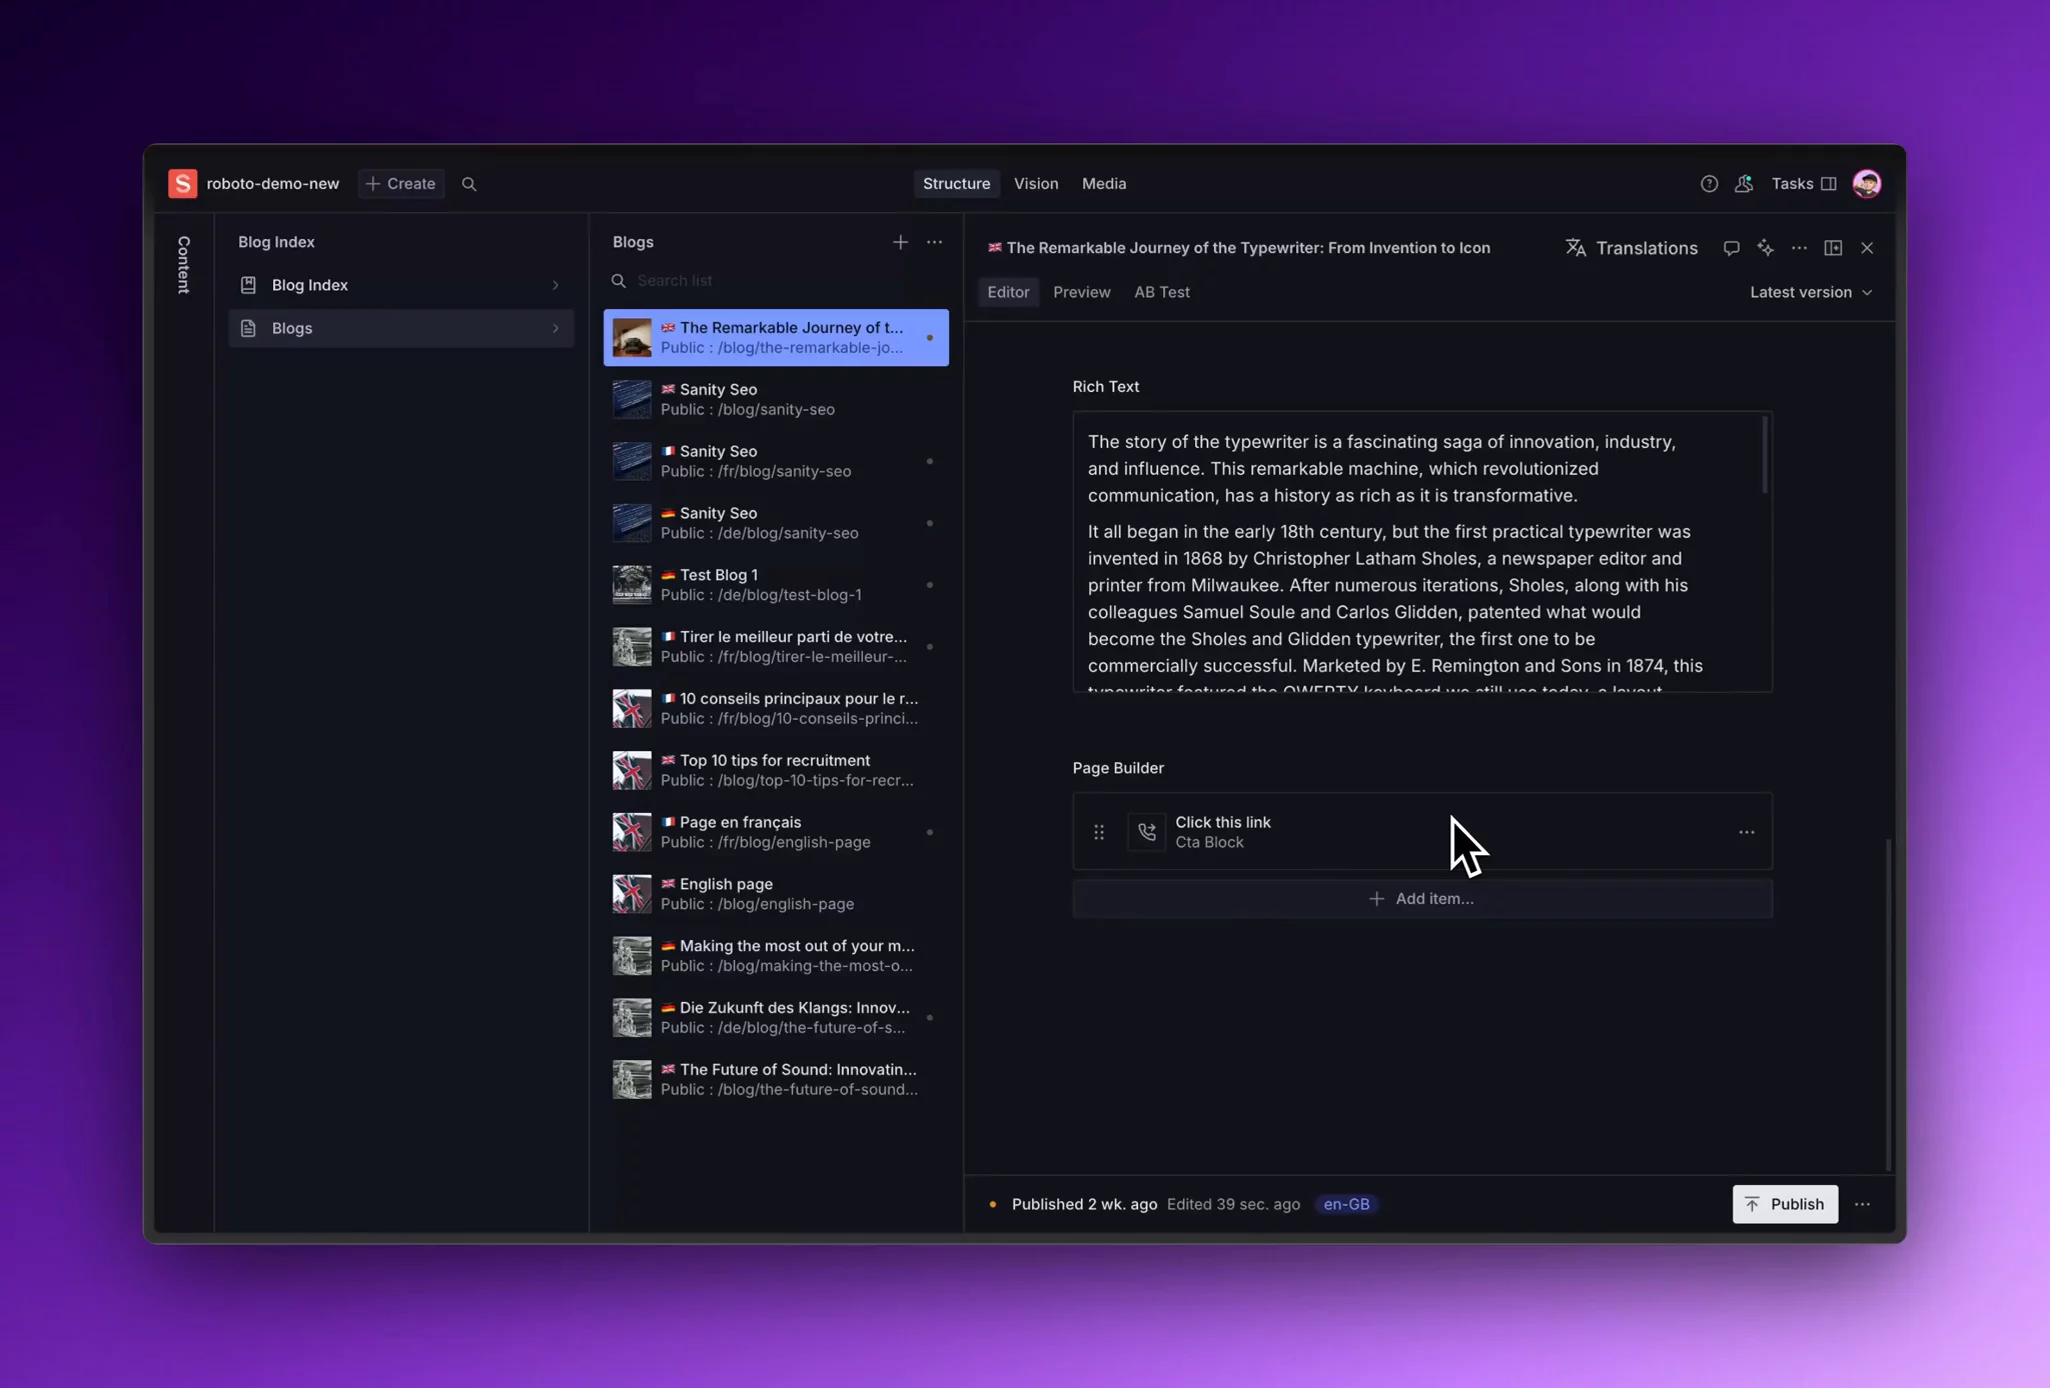
In the Page Builder section we just select the components that go in for that particular post and add its related content. That's it, simple and effective.
Now that we are a bit familiar with how we will be structuring things on the CMS, let's try migrating data from WordPress to Sanity.
Before we get into it, feel free to play around with the REST API in the developer console portal provided by WordPress, it will save your time from messing up the end points.
Different types of WordPress setup & how to migrate
There's a lot of different ways a WordPress website could be setup, trust us, we had to build a good few back in our days. However, I'll give you a brief rundown of what to expect and what process I would go about migrating — if I were in your shoes.
Classic Editor
First of all, this is going to be a race against time, because on the plugins description:
Classic Editor is an official WordPress plugin, and will be fully supported and maintained until 2024, or as long as is necessary.
That "as long as is necessary" doesn't fill me with confidence.
With that being said, boy you're lucky if you've kept it pretty close to vanilla, this is the best case scenario when it comes to migration. It doesn't take a whole lot of work to migrate and more than likely this will just be large chunks of text and images on a page. You can proceed to the migration section and blast through the rest of the tutorial, or continue reading if you have other types of WordPress websites.
Vanilla Gutenberg
Again, very similar to the classic editor, this is one of the best-case scenarios for migrating content. It means that you've probably got a set of clean articles, and clean pages with mostly text and image content.
Where this gets trickier is mapping content that's added via a plugin, or custom functionality. Our best advice is to export all the rich text content and images, but leave the extended functionality to manually migrate — as unfortunately there are so many different plugins without that much standardisation. Probably one of the reasons you're reading this.
If you're planning a more complex migration where these elements have to come along, then it's definitely worth dropping a message over to us to consult your team for a couple of days and point you in the right direction. Get in touch here.
Page builder tool (WPBakery)
Okay, I'm going to break this to you. This is going to be a real pain in the ass to migrate, and I would change our migration technique entirely at this stage.
Instead of trying to do it through the WordPress admin panel, you will have more success using a tool like Browse AI (we're not sponsored), or writing your own script. We've got a Javascript focused script in-house, we are more than happy to share, just ping us a message and we'll try and help.
Custom
This one is hard to give a concrete answer to, as we've seen WordPress environments set up quite tidily, all the way to "built like complete ass" but I'll provide you with the steps we would take:
- Try Step 1 in the migration process in the section below
- Follow the process and see if the export is successful
- If it's successful, follow the rest of the tutorial below
- If it's not successful, but has some useful information in it, try and clean it up using your own python skills, or ChatGPT.
- If it's not successful and there's nothing useful exported, follow the Page Builder guide above and use Browse AI
- Test to see if the results work with step 2 below
Migration
Brace yourself for a wild ride, get your coffee and let's jump in because this is a long one.
Step 1 : Export your site data from WordPress
Go into your dashboard and find tools > export, you will find an export all option which will send an email with a download link for an xml file.

Step 2: Clone this repo and add your XML file
https://github.com/kmelve/wordpress-to-sanity
This repo is built by one of the finest devs in the Sanity community (Knut didn't pay us to say this). It's a great repo to get you started Sanity but keep in mind that it's a bit old and some functions may break or not work without modifications. Add your xml file at the root of the directory and find migrate.js where you need to update filename. If the file is in the root of your directory then it will be something like this:
const filename = '../blogpress.wordpress.2024-03-01.000.xml'
For more content from Knut check out his blog & Sanity profile, it's worth a read and he's one of the core Sanity team, so he definitely knows a thing or two about building incredible content experiences.
Step 3: Create sanity.js file
Under src/lib create a new file called sanity.js where we will be storing all our Sanity related configs like projectId and token.
const {createClient} = require('@sanity/client')const client = createClient({dataset: 'production',projectId: 'PROJECT_ID',apiVersion: '2021-06-09',useCdn: false,token:'SANITY_API_TOKEN',})module.exports = client
Note: please make sure you install the relevant packages mentioned throughout the codebase.
Final step: Modify migrate.js
Thanks to a huge help from our in-house magician Hrithik, we added some extra touch-ups with the migrate.js file to create documents on Sanity, based on the original WordPress posts, users and categories data that we got from our WordPress site.
#!/usr/bin/env node/* eslint-disable id-length, no-console, no-process-env, no-sync, no-process-exit */const fs = require('fs')const {log} = consoleconst XmlStream = require('xml-stream')const parseDate = require('./lib/parseDate')const parseBody = require('./lib/parseBody')const client = require('./lib/sanity')const slugify = require('slugify')const {uuid} = require('@sanity/uuid')function generateAuthorId(id) {return `author-${id}`}function generateCategoryId(id) {return `category-${id}`}function readFile(path = '') {if (!path) {return console.error('You need to set path')}return fs.createReadStream(path)}async function buildJSONfromStream(stream) {const xml = await new XmlStream(stream)return new Promise((res, rej) => {/*** Get some meta info*/const meta = {}xml.on('text: wp:base_site_url', (url) => {meta.rootUrl = url.$text})/*** Get the categories*/const categories = []const categorySet = new Set()xml.on('endElement: category', (wpCategory) => {const {nicename} = wpCategory.$categorySet.add(nicename)})/*** Get the users*/const users = []xml.on('endElement: wp:author', (author) => {const user = {_type: 'author',_id: generateAuthorId(author['wp:author_id']),name: author['wp:author_display_name'],slug: {current: slugify(author['wp:author_login'], {lower: true}),},email: author['wp:author_email'],}users.push(user)})/*** Get the posts*/const posts = []xml.collect('wp:postmeta')xml.on('endElement: item', (item) => {const {title, category, link: permalink, description} = itemif (item['wp:post_type'] != 'post' && item['wp:post_type'] != 'page') {return}try {const post = {_type: 'post',_id: uuid(),title,slug: {current: slugify(title, {lower: true}),},...(category?.$?.nicename? {categories: [{_type: 'reference', _ref: generateCategoryId(category.$.nicename)}]}: {}),description,body: parseBody(item['content:encoded']),publishedAt: parseDate(item),}posts.push(post)} catch (error) {console.error(error)}})// there seems to be a bug where errors is not caughtxml.on('error', (err) => {throw new Error(err)})xml.on('end', () => {const output = {users,posts,categories: Array.from(categorySet).map((category) => ({_type: 'category',_id: generateCategoryId(category),title: category,})),}return res(output)})})}async function migrateType(json) {if (!Array.isArray(json)) returnconst mutateArr = json.map((doc) => ({createIfNotExists: doc}))const result = await client.mutate(mutateArr)console.log('🚀 ~ migrateToSanity ~ result:', result)}async function migrateToSanity(json) {const {users, posts, categories} = json ?? {}console.log('🚀 ~ migrateToSanity ~ users,posts,categories:', users, categories)await migrateType(users);await migrateType(categories);await migrateType(posts);}async function main() {const filename = '../blogpress.wordpress.2024-03-01.000.xml'const stream = await readFile(filename)const output = await buildJSONfromStream(stream)await migrateToSanity(output)}main()
Once this is done all you need to do is run this command on your terminal:
cd src && node migrate.js
And hurray🎉🎉
We have all the data onto our CMS, you will see an output on your terminal like this:

The script provided above would create posts on Sanity from the WordPress site but there will be some hits and misses in terms of references and such.
You will still need to go through them and manually check these documents, but this gives you a great starting point.
Final thoughts
The script provided is a work in progress. It may have some references missing on your CMS, and it may leave out chunks all together — but that's the way it is with migration tooling, unfortunately there's no silver bullet (or we'd be rich). However, if you really get stuck we're always here to try and help, whether you're an aspiring dev, or an SME, we've probably seen it before, so get in touch.
Once you are done with all the migration the real joy of editing with Sanity begins, we have a whole set of blogs dedicated for that:
- Not sure on how to use Sanity? Read this post where we show you all sorts of cool tricks and tips on using it efficiently.
- Are you a developer who is new to the party? Here is a mini guide to save yourself a heck load of time.
- You may have realised that once a change is done on localhost w.r.t schemas, you will have to keep deploying your changes via the terminal each time — for it to reflect on the production site. We say just automate that with github actions.
- Oh and if you're lazy and you're just planning to speed-run learning Sanity, boy do we have a post to help you out.
We hope this blog helped you in your migration adventures! If you're struggling and need a hand, happy migrating!


